How to run Home Assistant OS on MacOS M1 with UTM
Testing configuration/add-ons on my Home Assistant production instance comes with a risk.
I always used the Home Assistant add-on development container with Visual Studio Code, but today I needed the journal inside the Crowdsec add-in, and it seems that this is not available in the dev container.
Also, rebuilding HA and restoring backups comes with some frustrations :-). Using a MacBook Pro M1 and VMWare fusion does not seem to with Home Assistant Operating system.
This note is about installing the Home Assistant Operating system on my MacBook Pro M1 with UTM as Hypervisor. This should give me full virtualization and cloning (but no snapshots), which should make my life easier when testing and creating tech notes.
Home Assistant Operating system
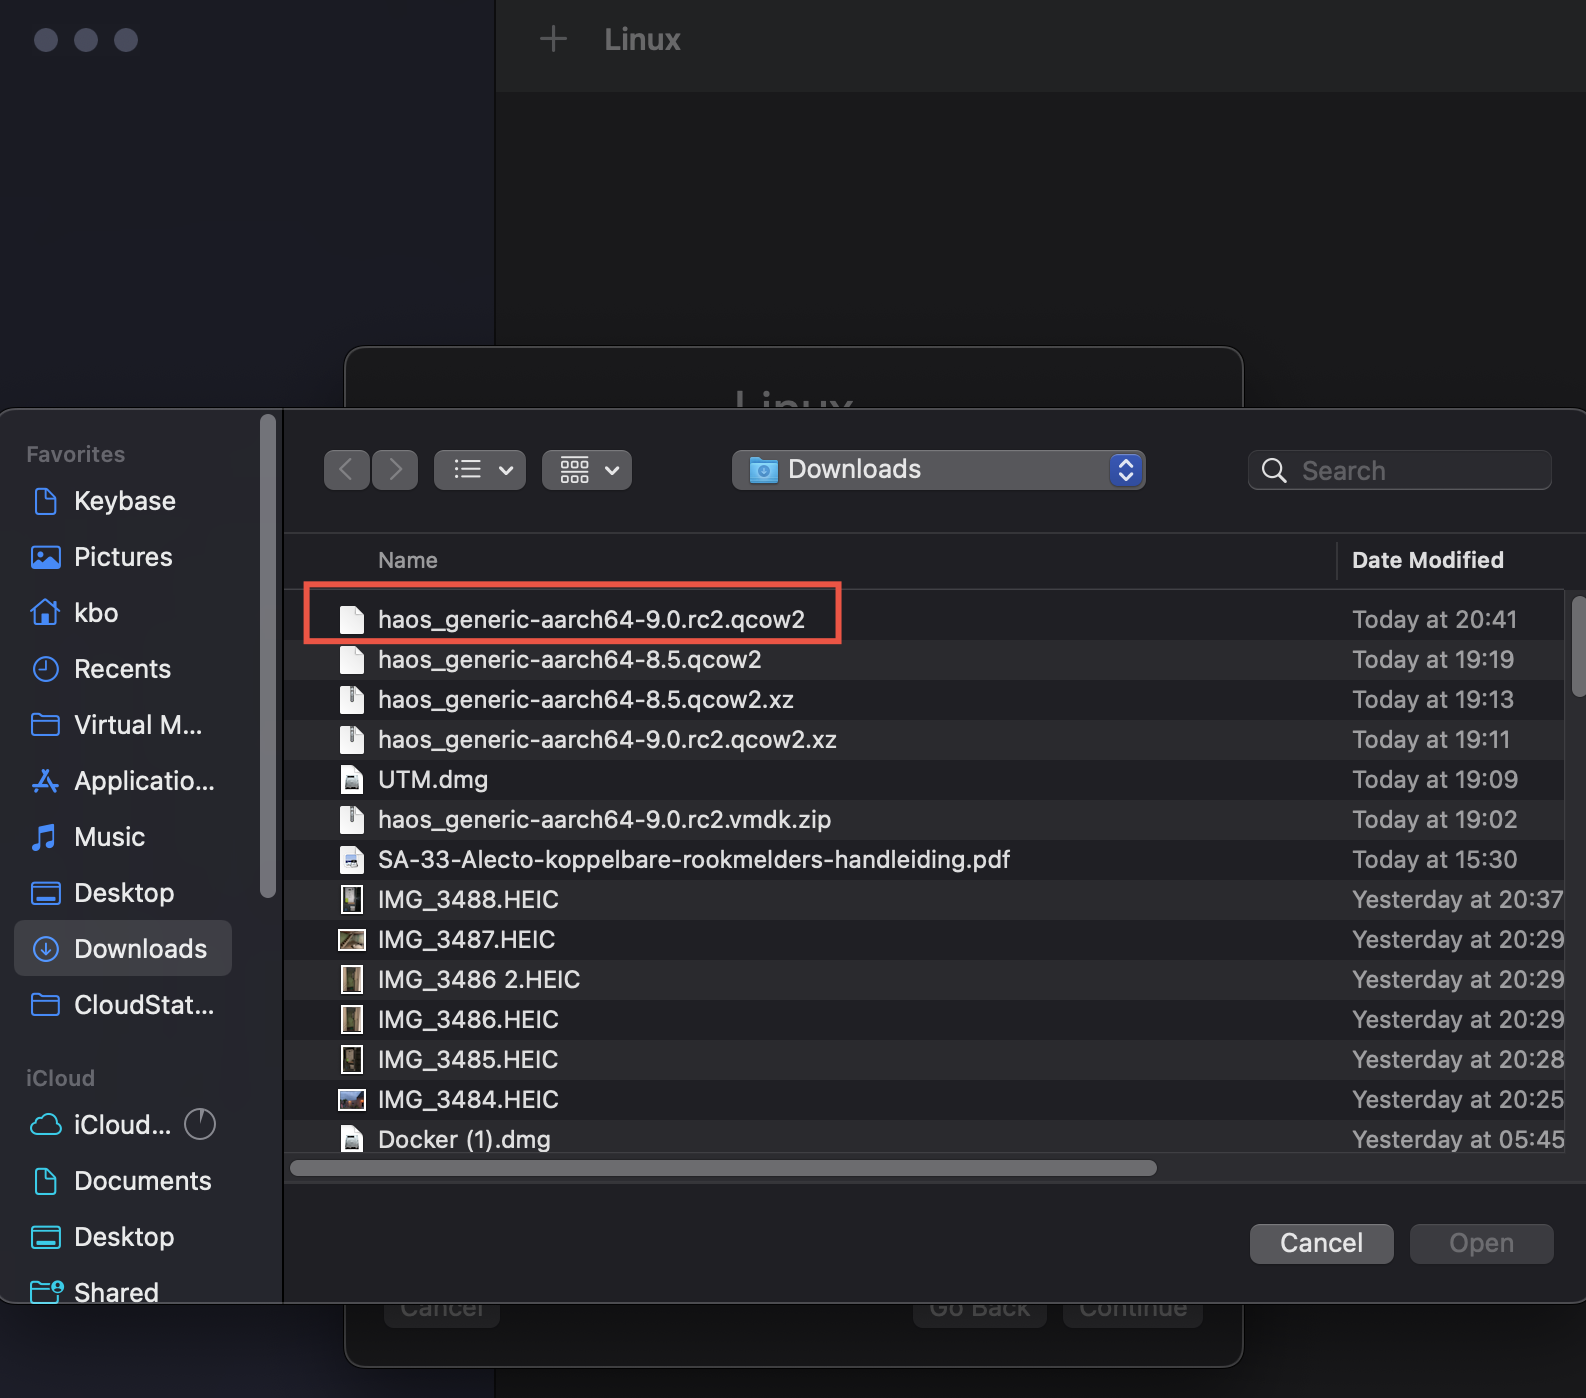
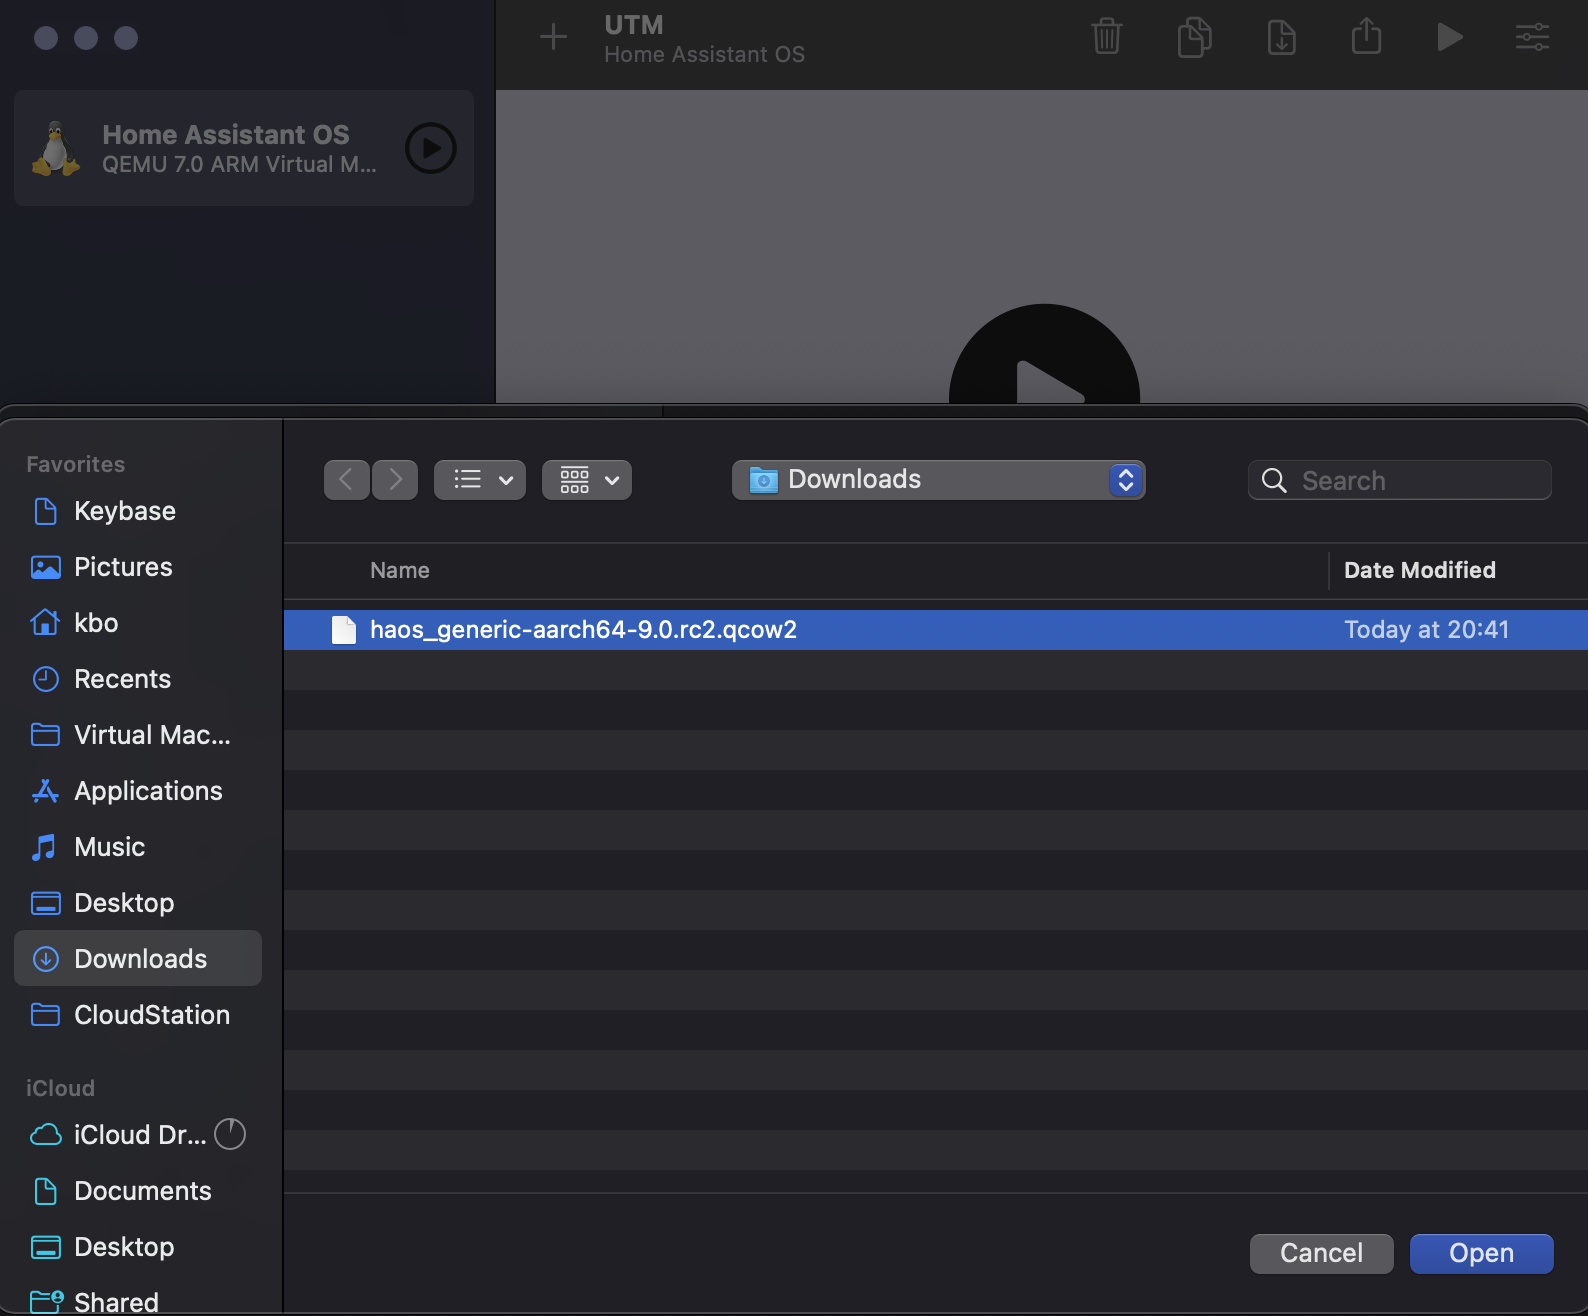
Download the HA OS aarch64 qcow2 image and extract
UTM (Securely run operating systems on your Mac)
Download and install UTM
Install the Home Assistant Operating system virtual machine
Create a Virtual machine: 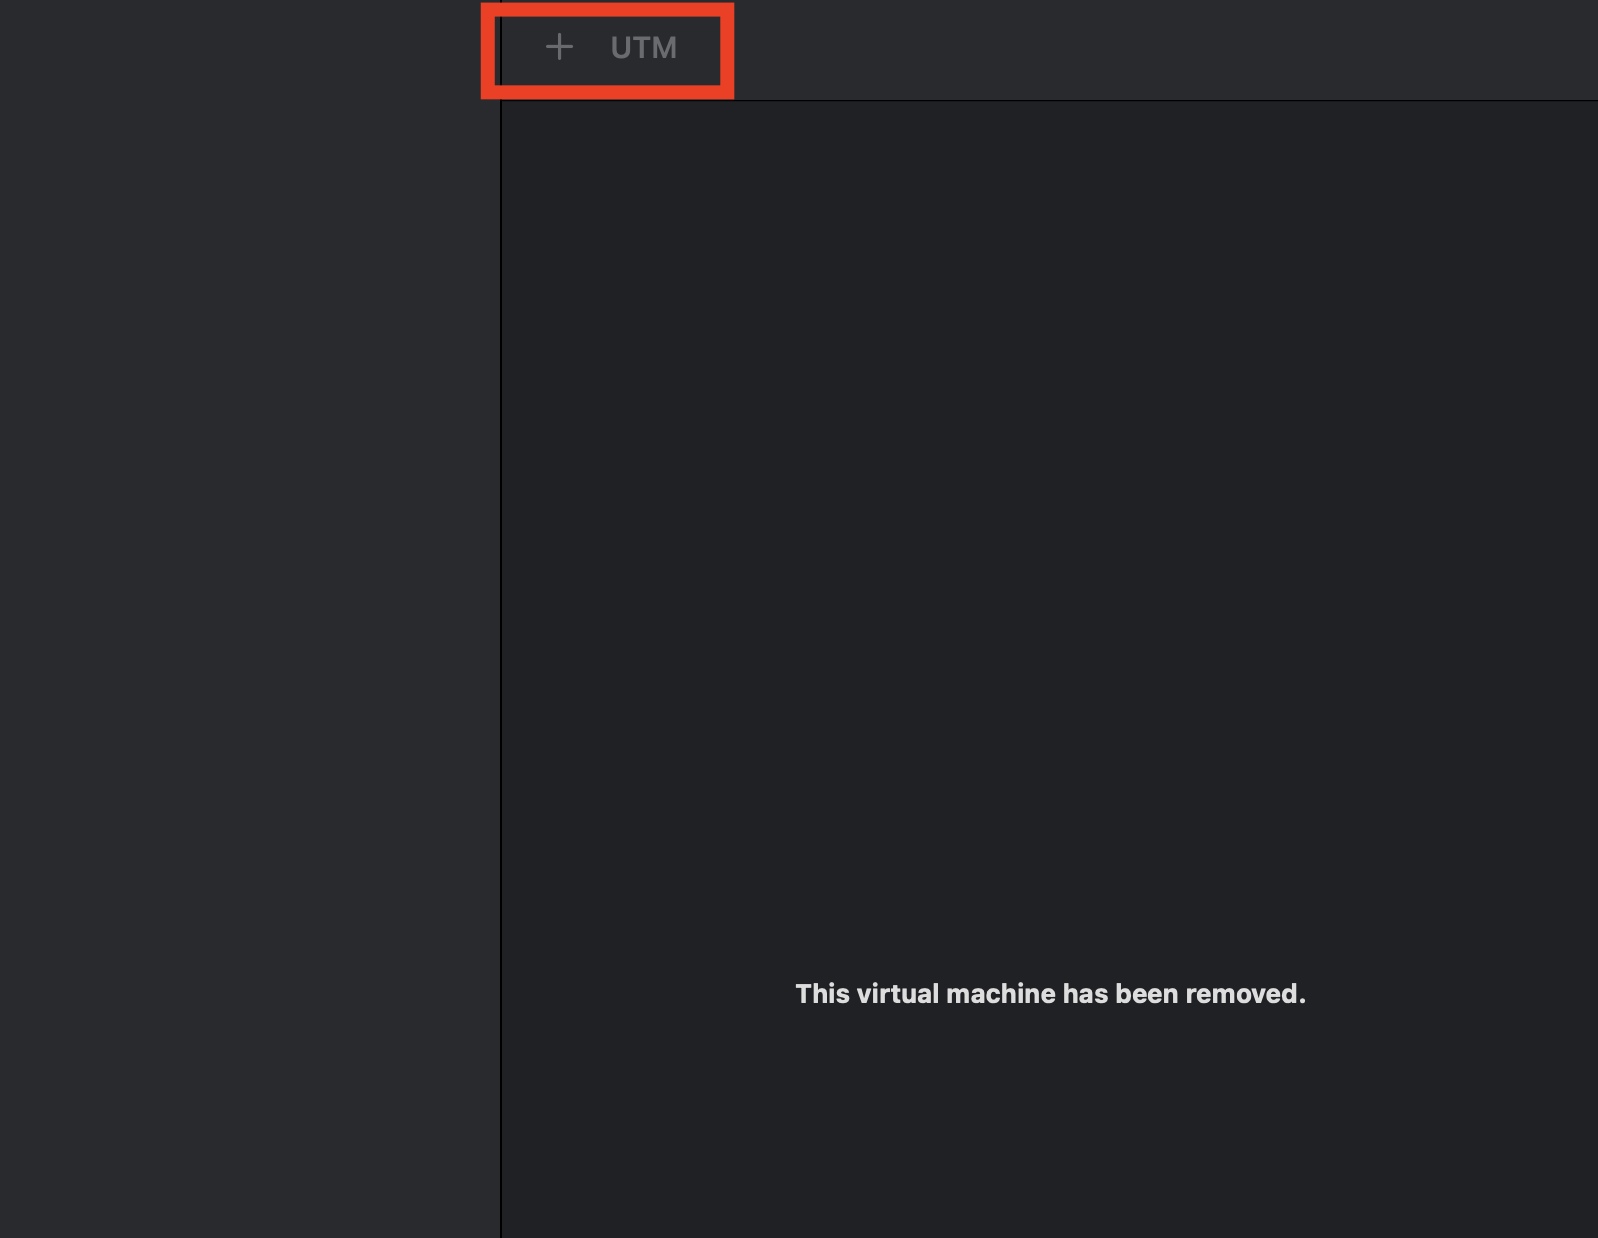
Choose Virtualize 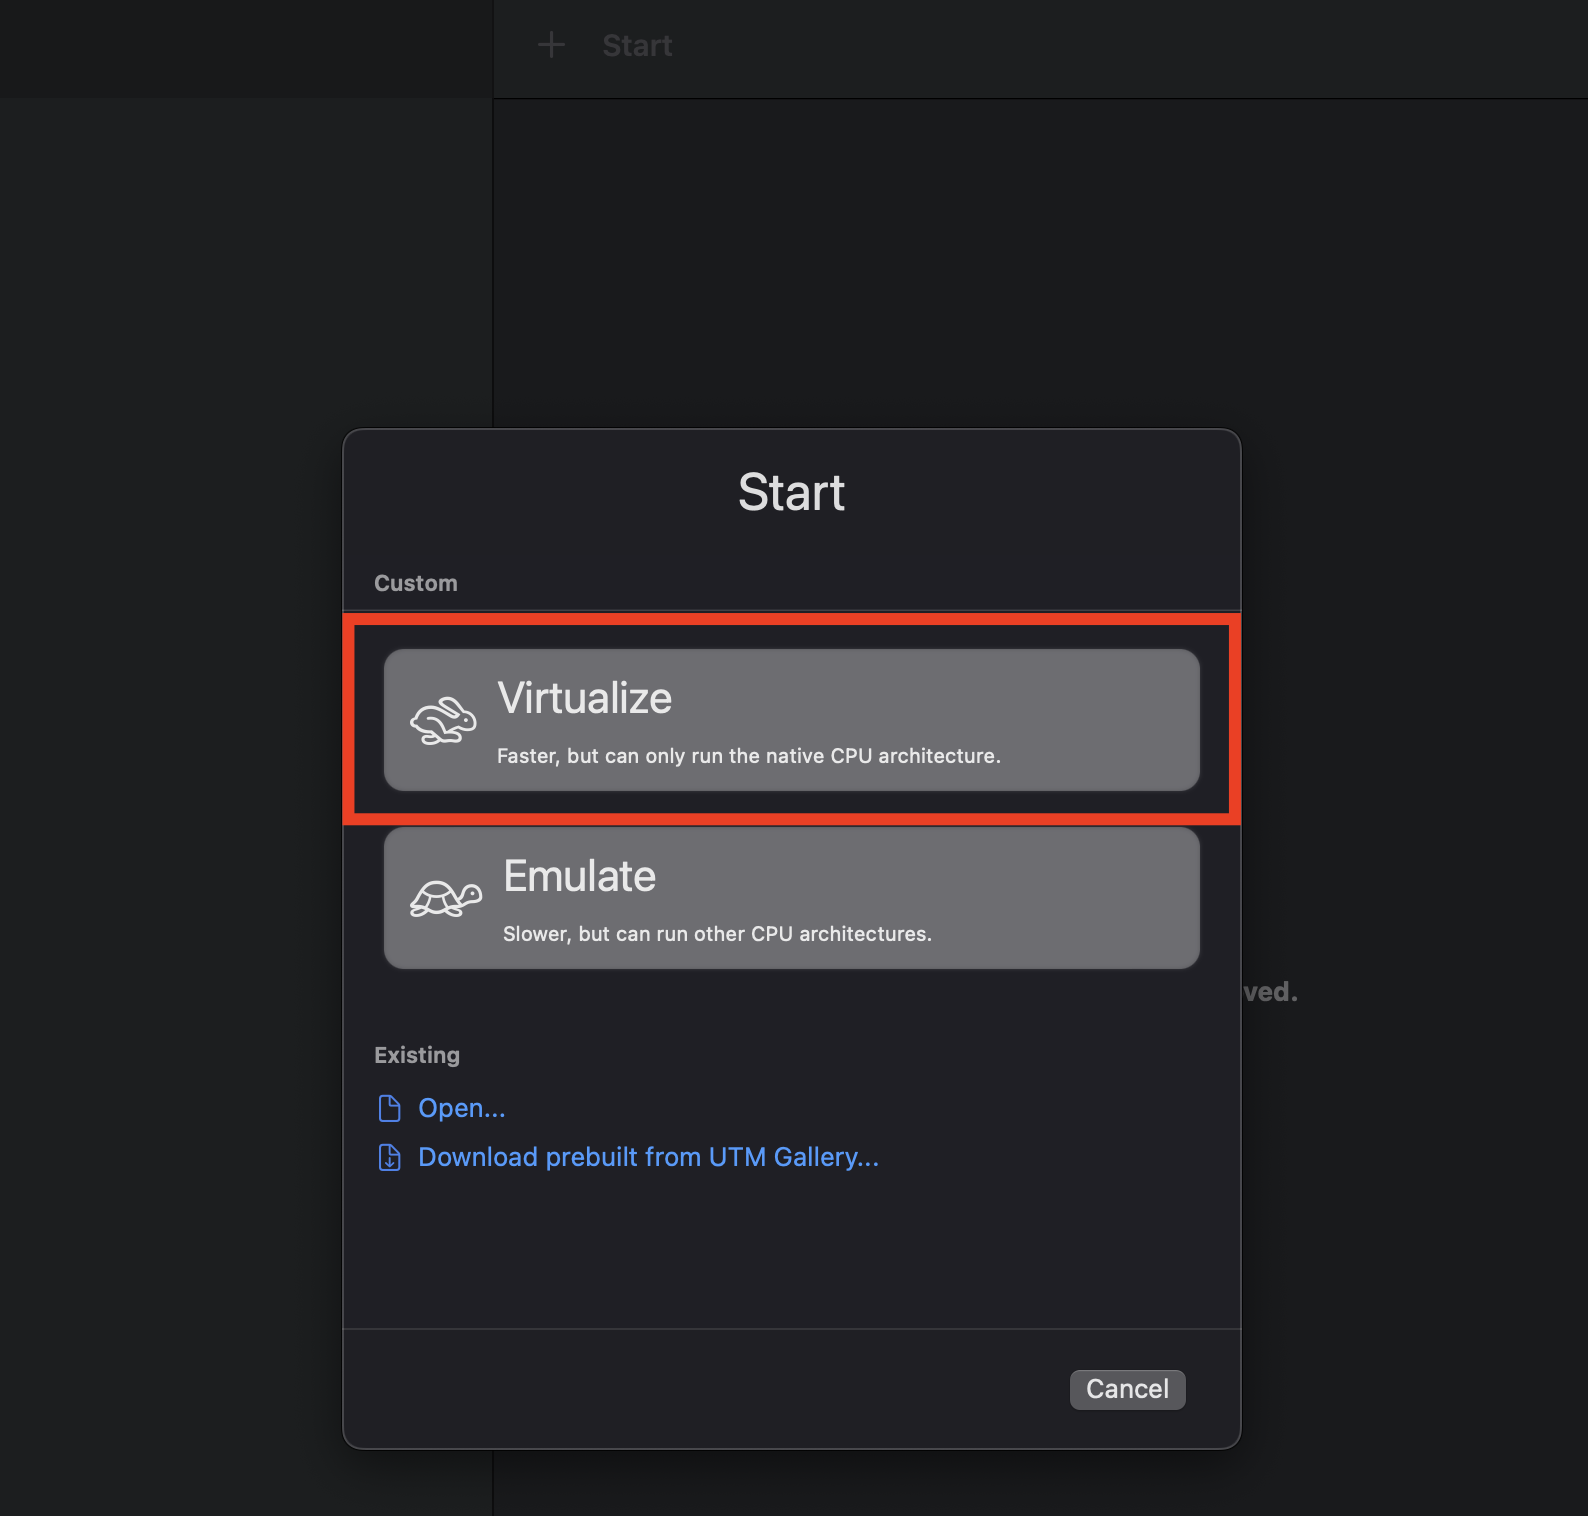
Type Linux 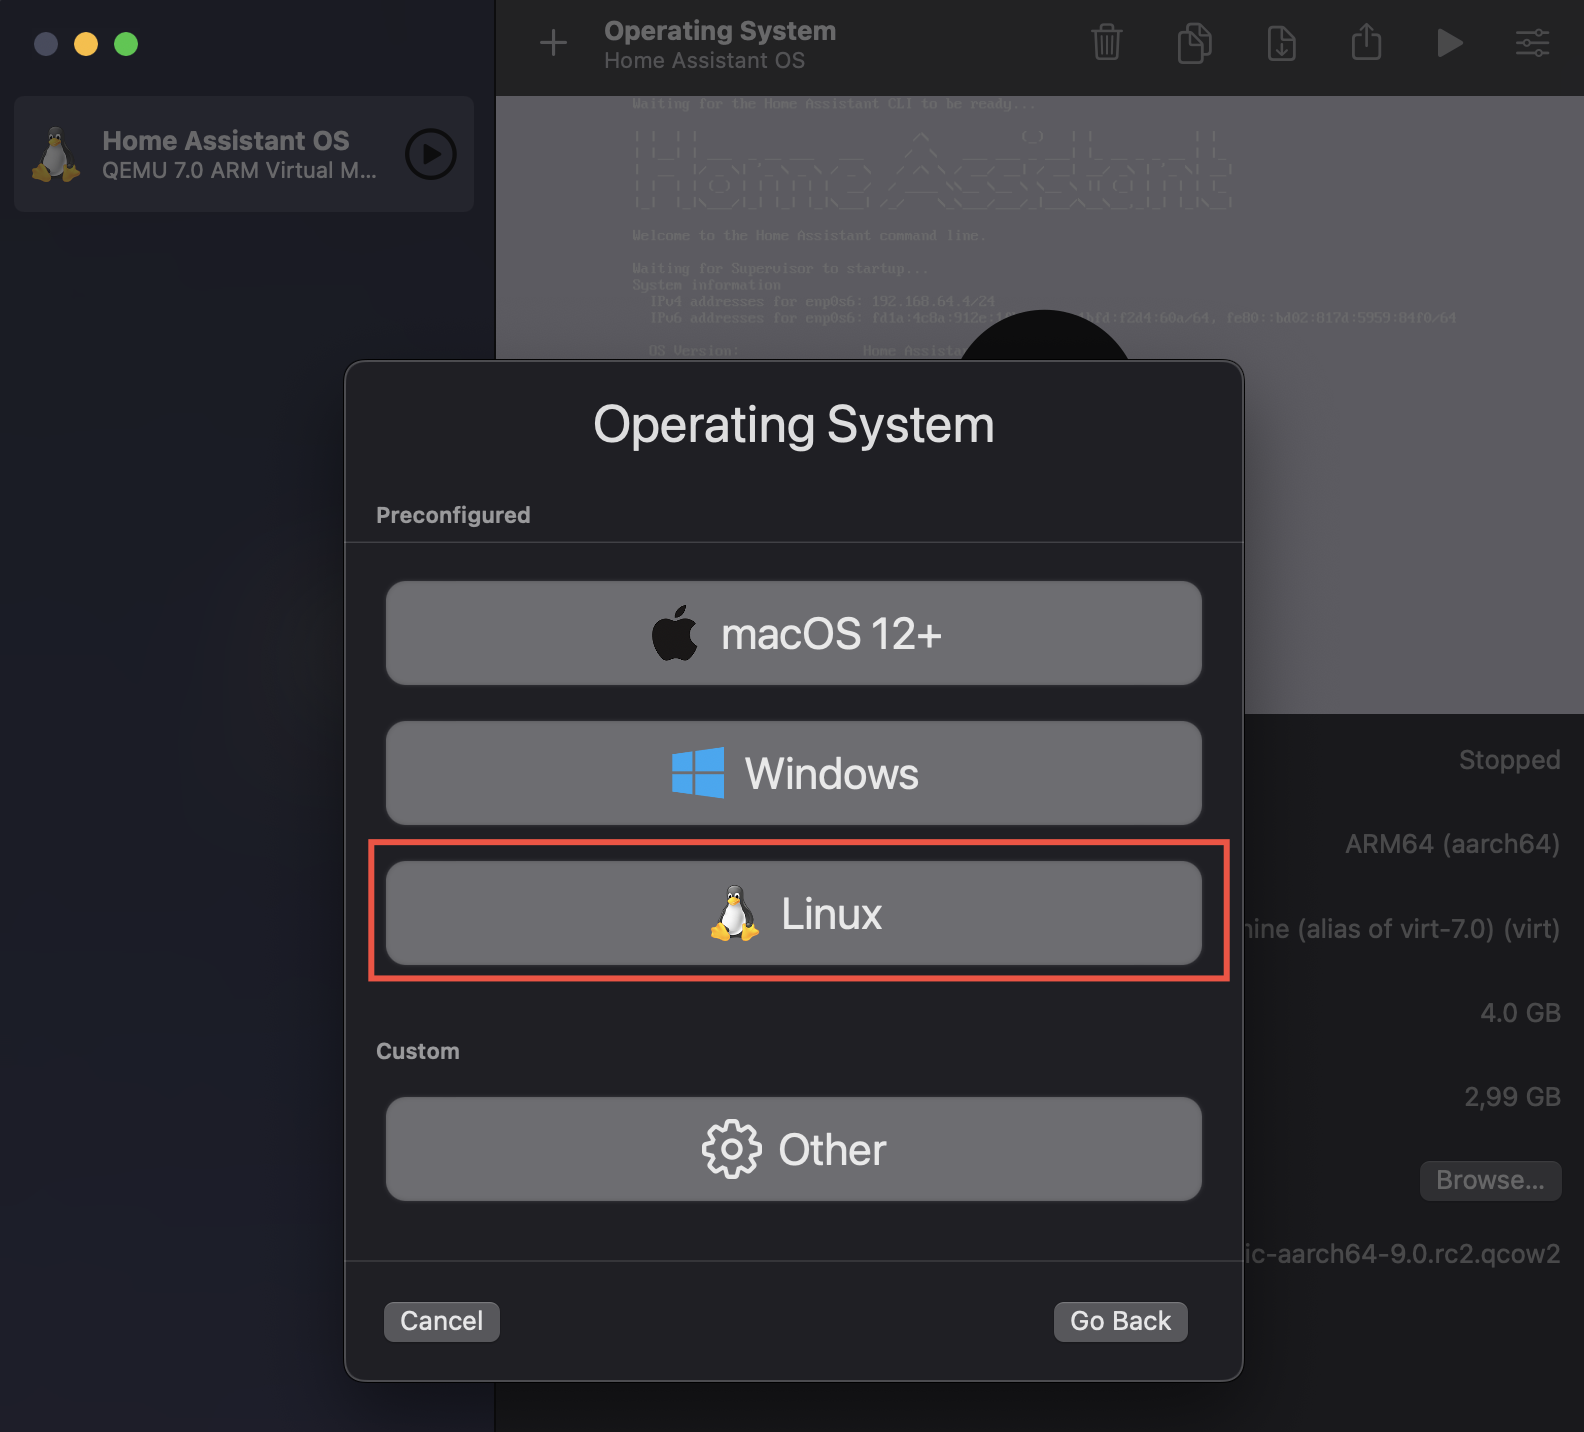
Select the downloaded (extracted) image 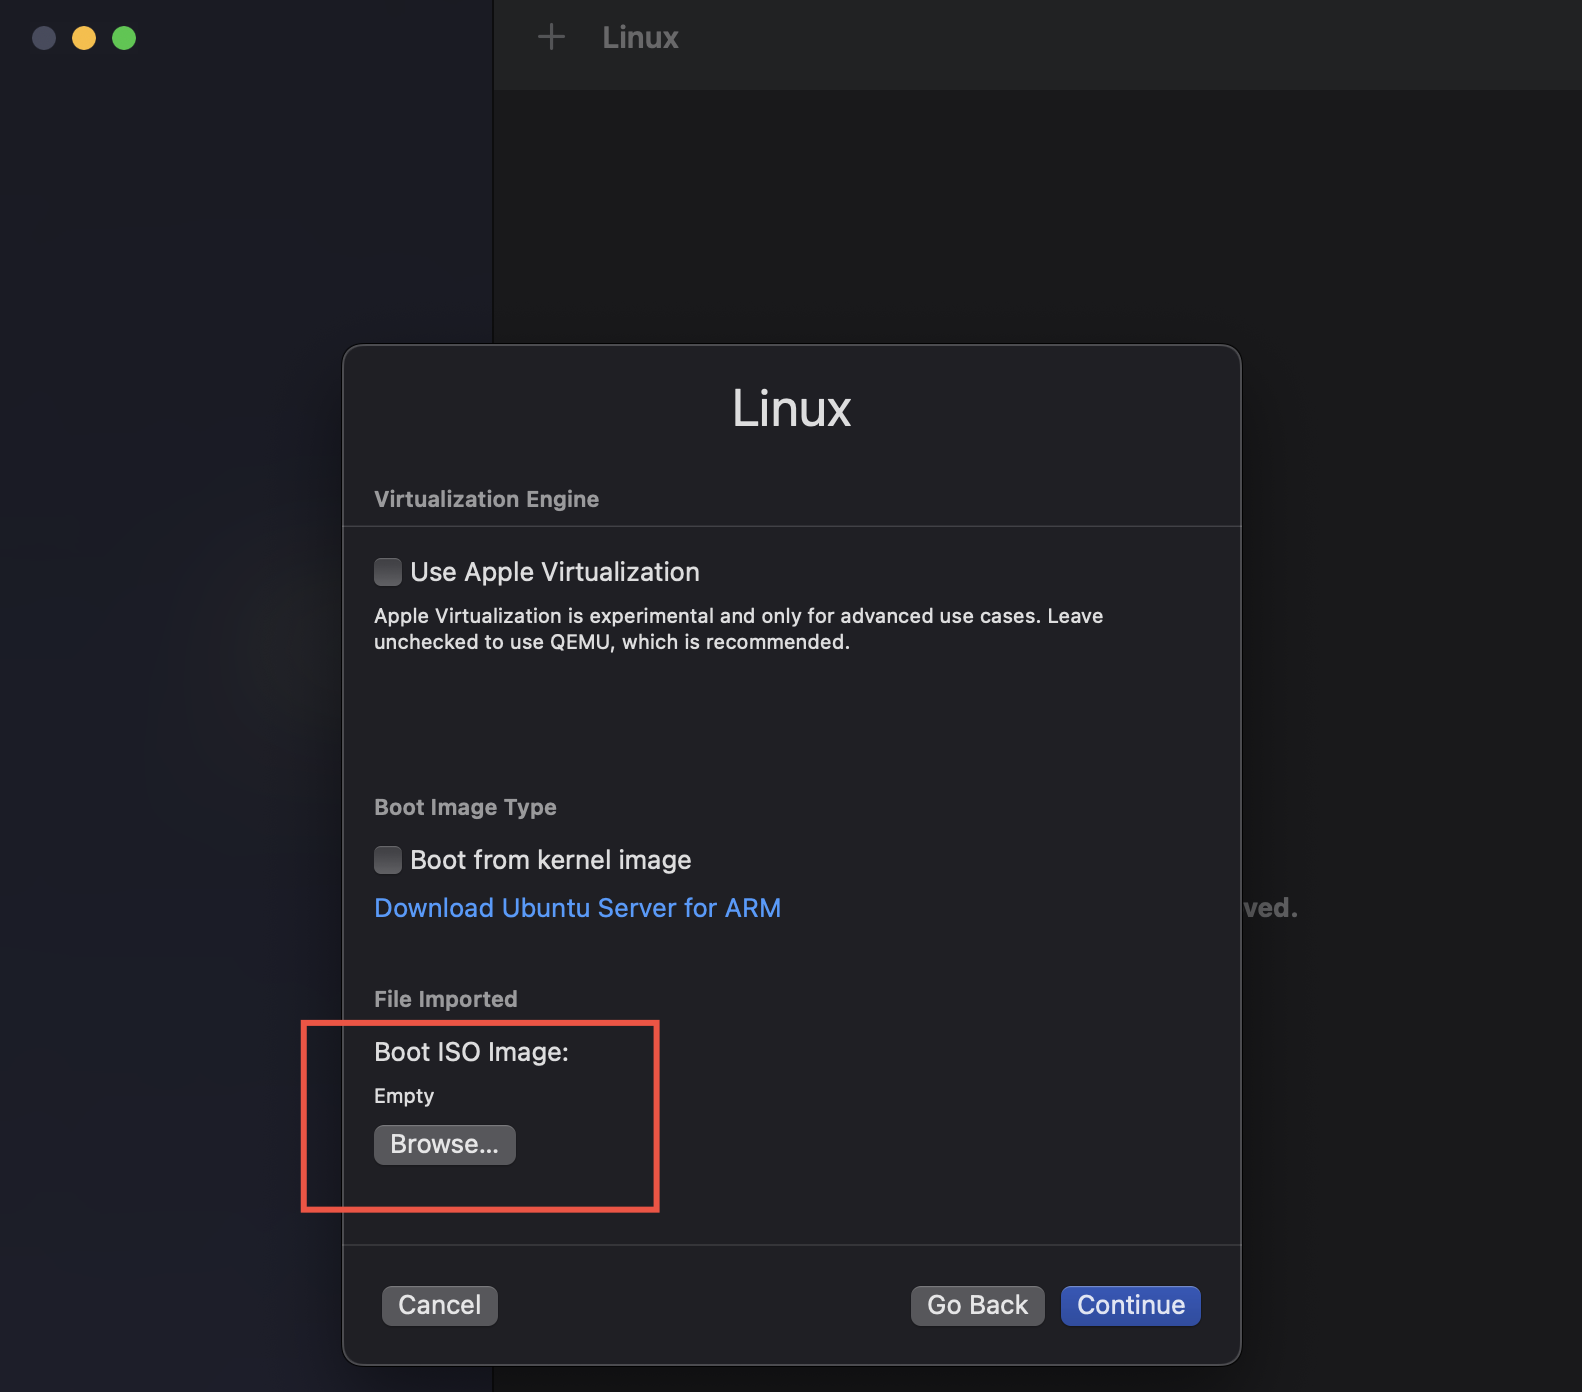
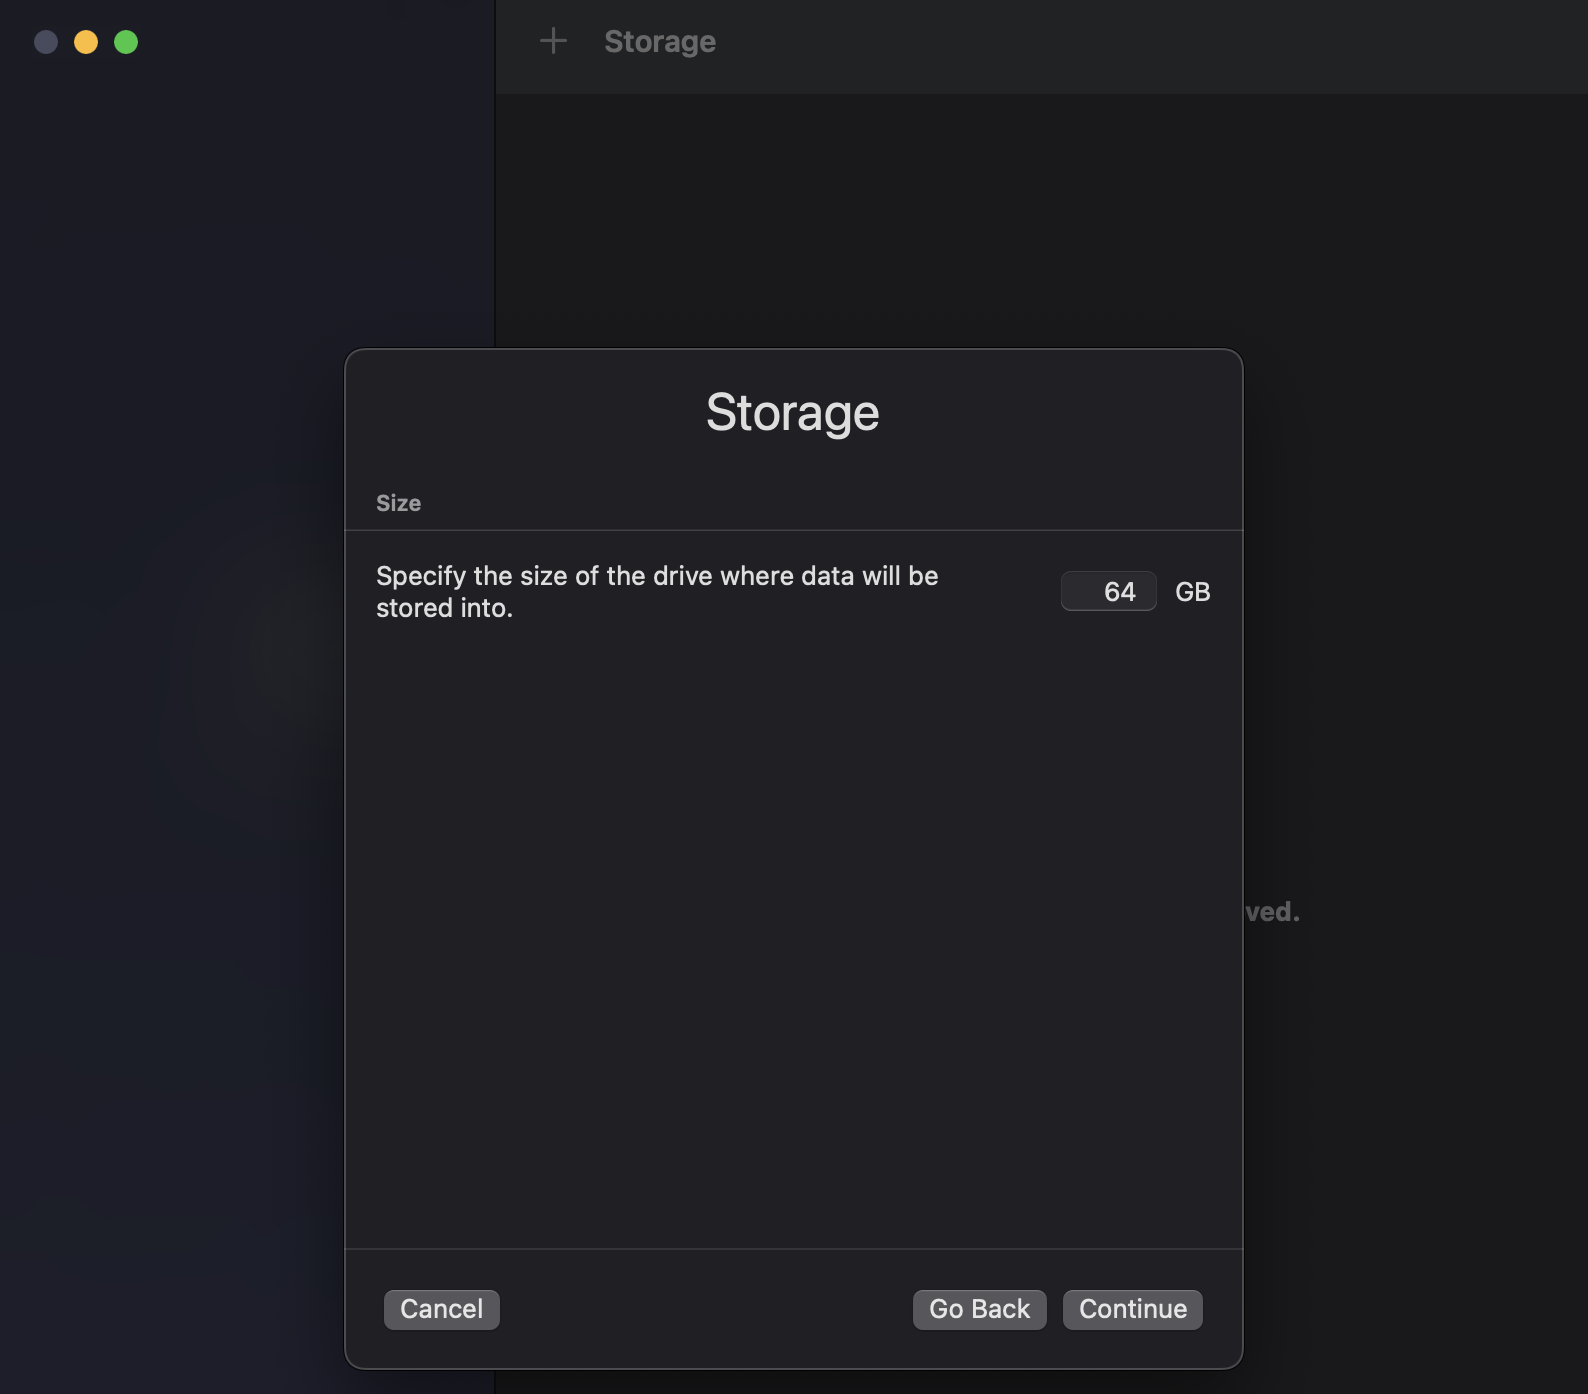
leave default 
On the summary page, enter a name and select open VM settings 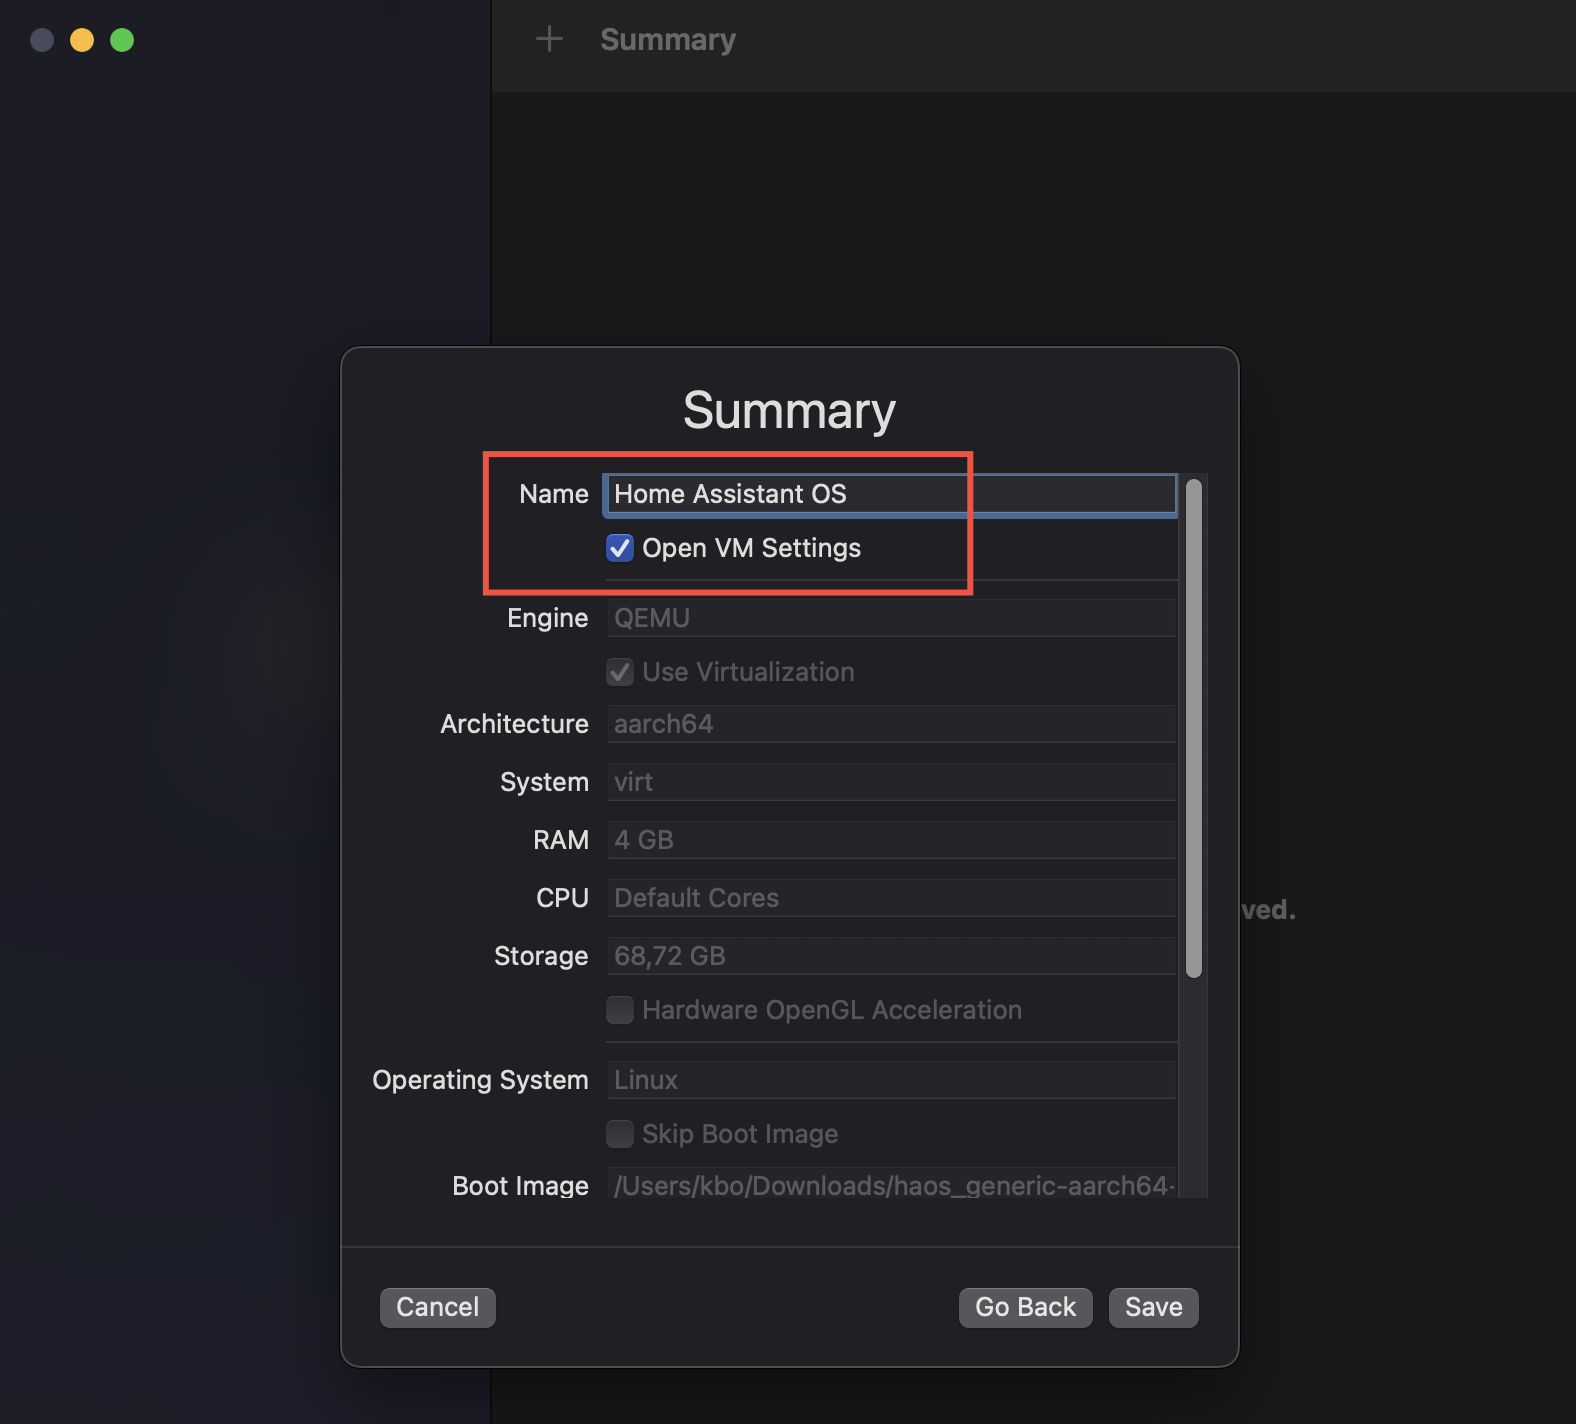
Change the networking to bridge mode 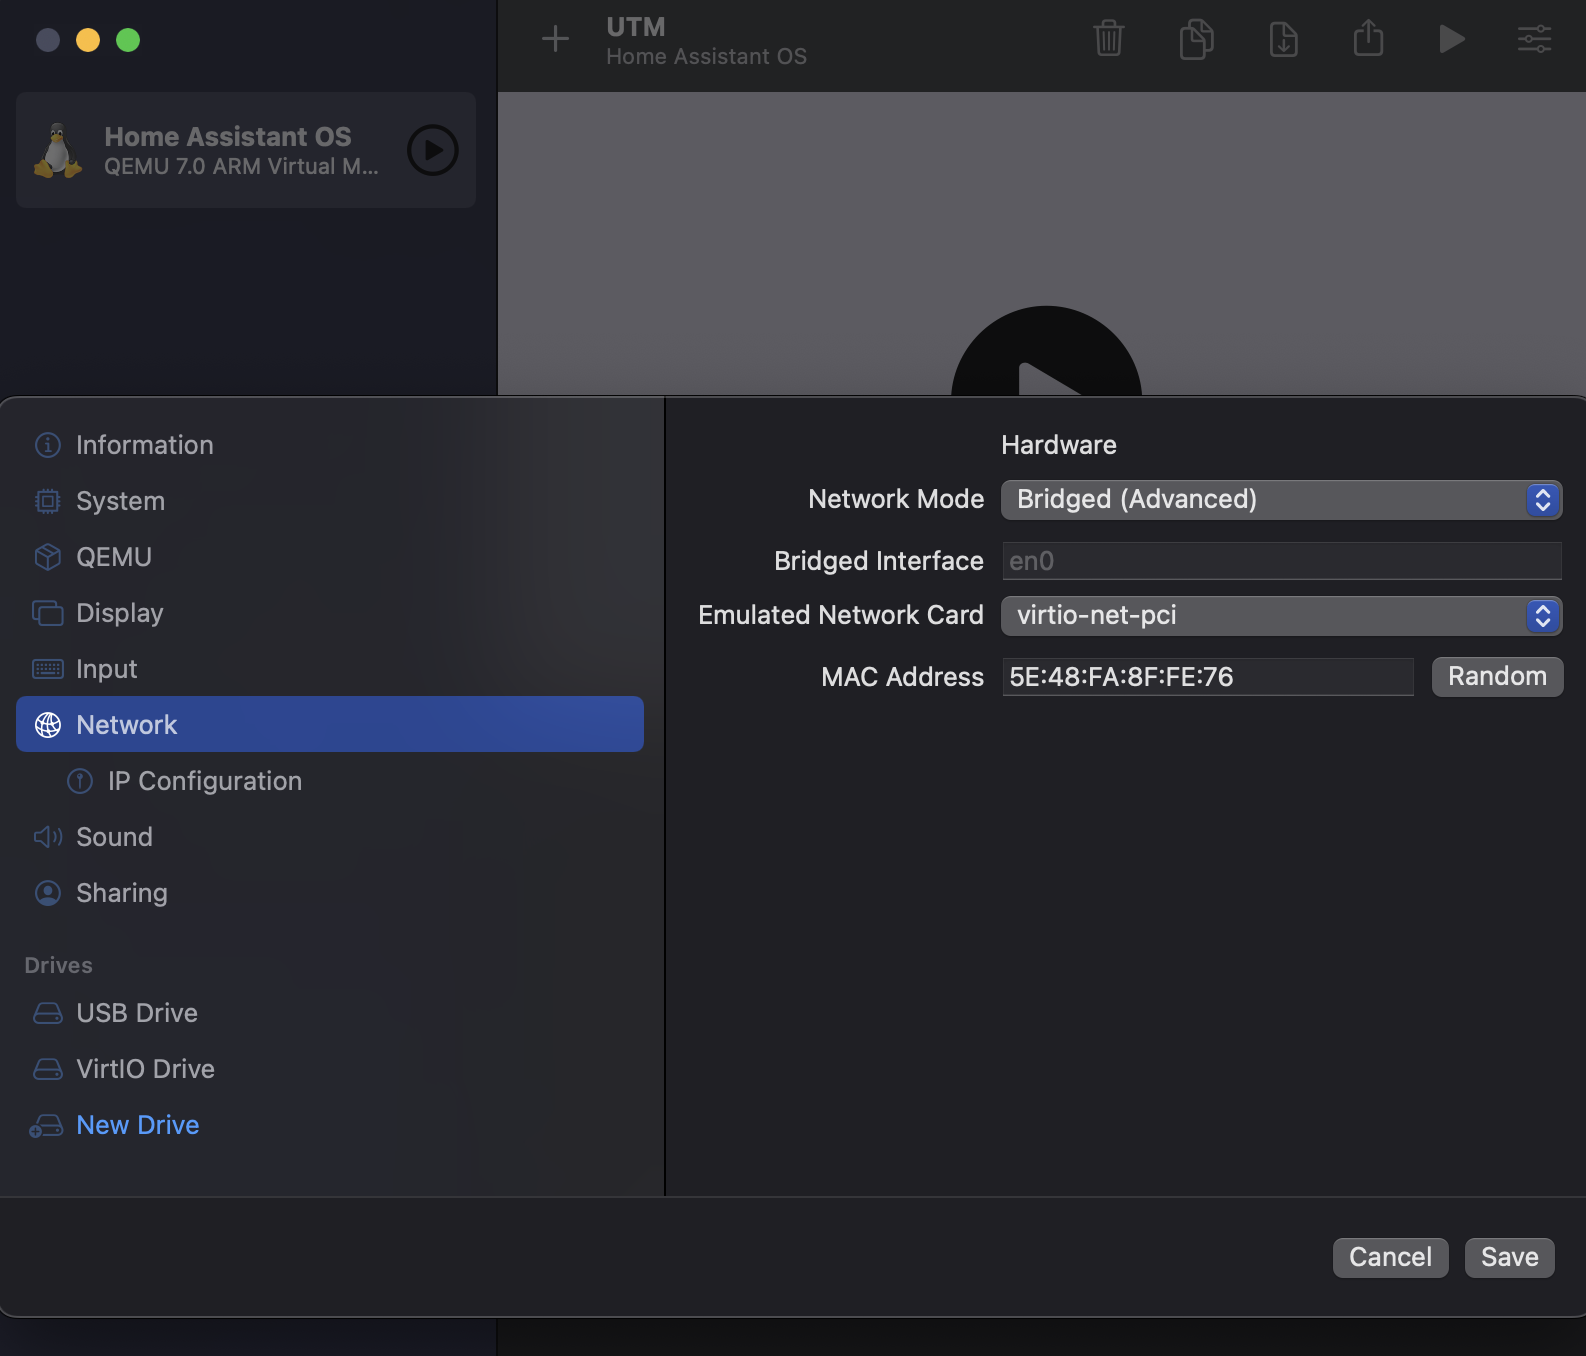
Select the VirtIO drive and delete 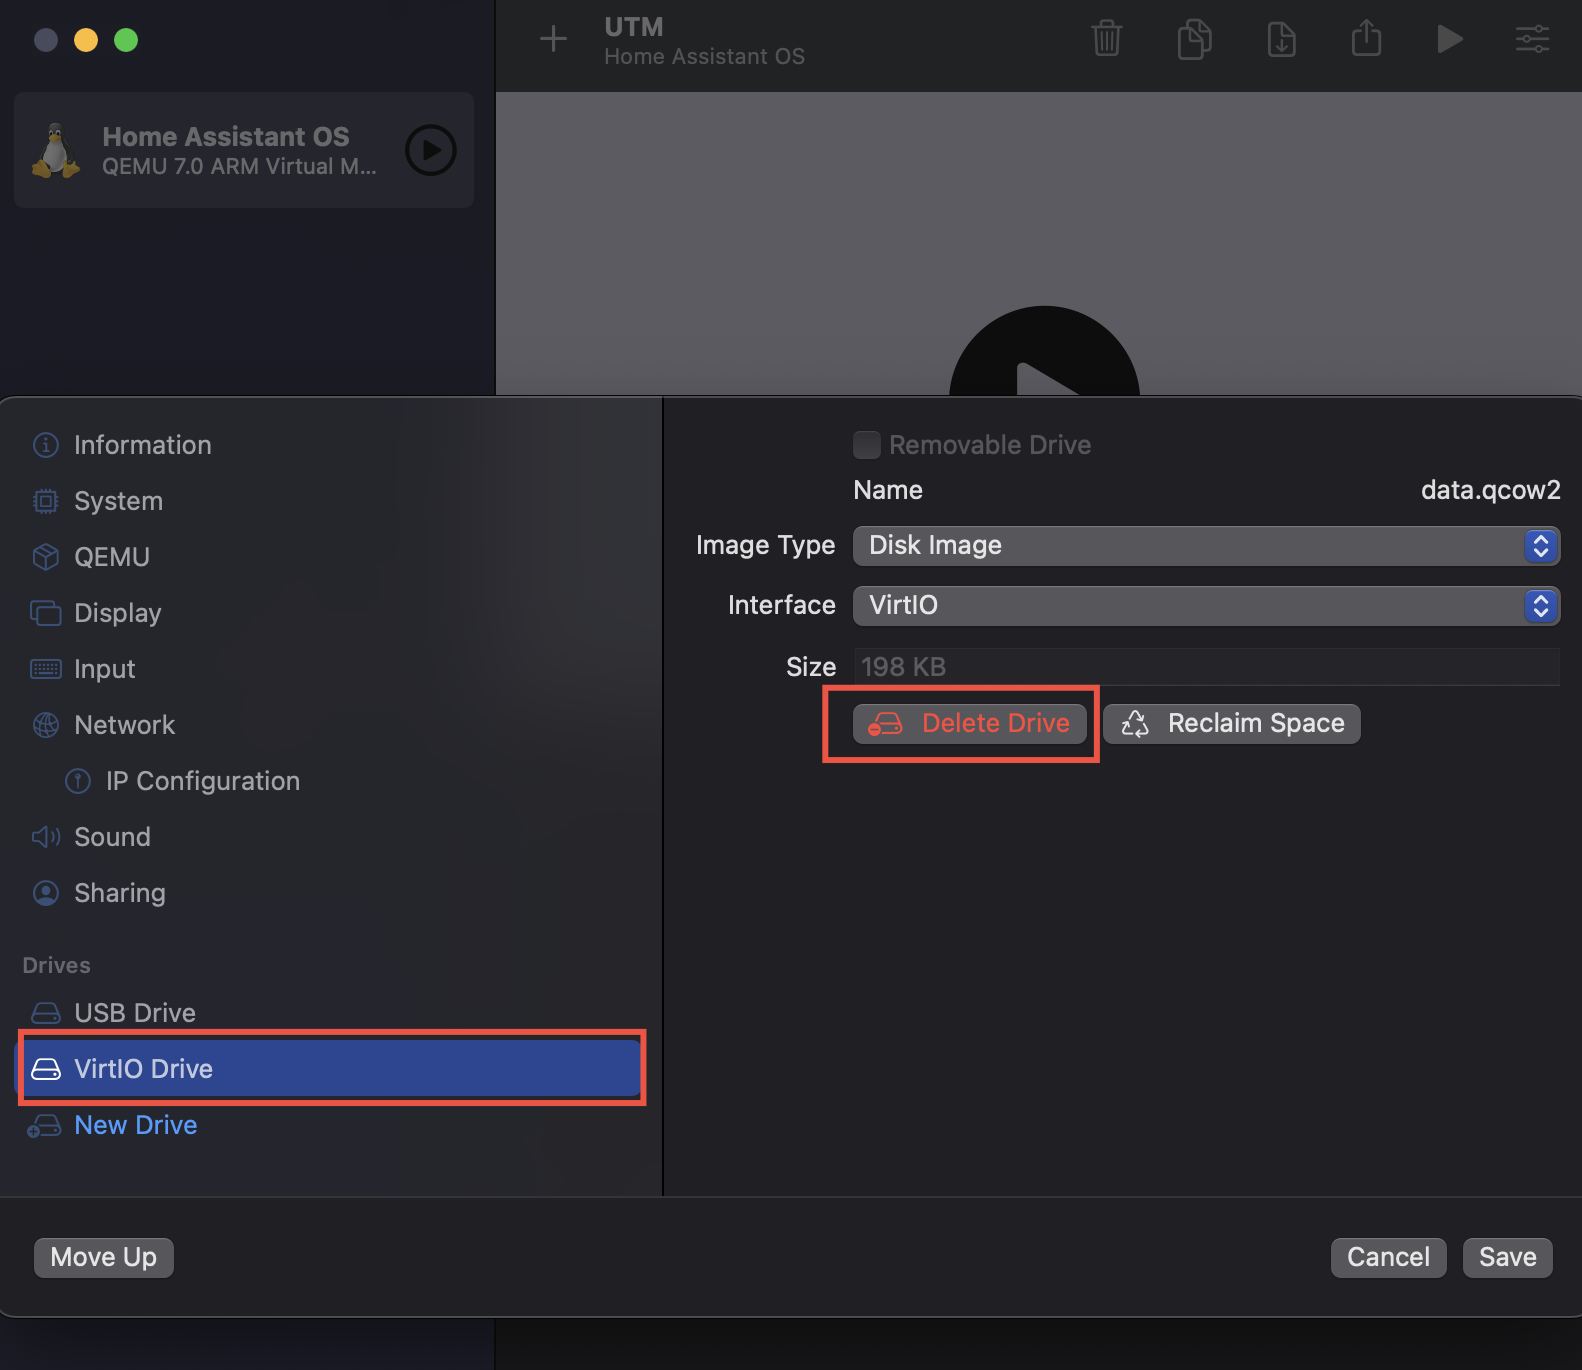
Select “New Drive” 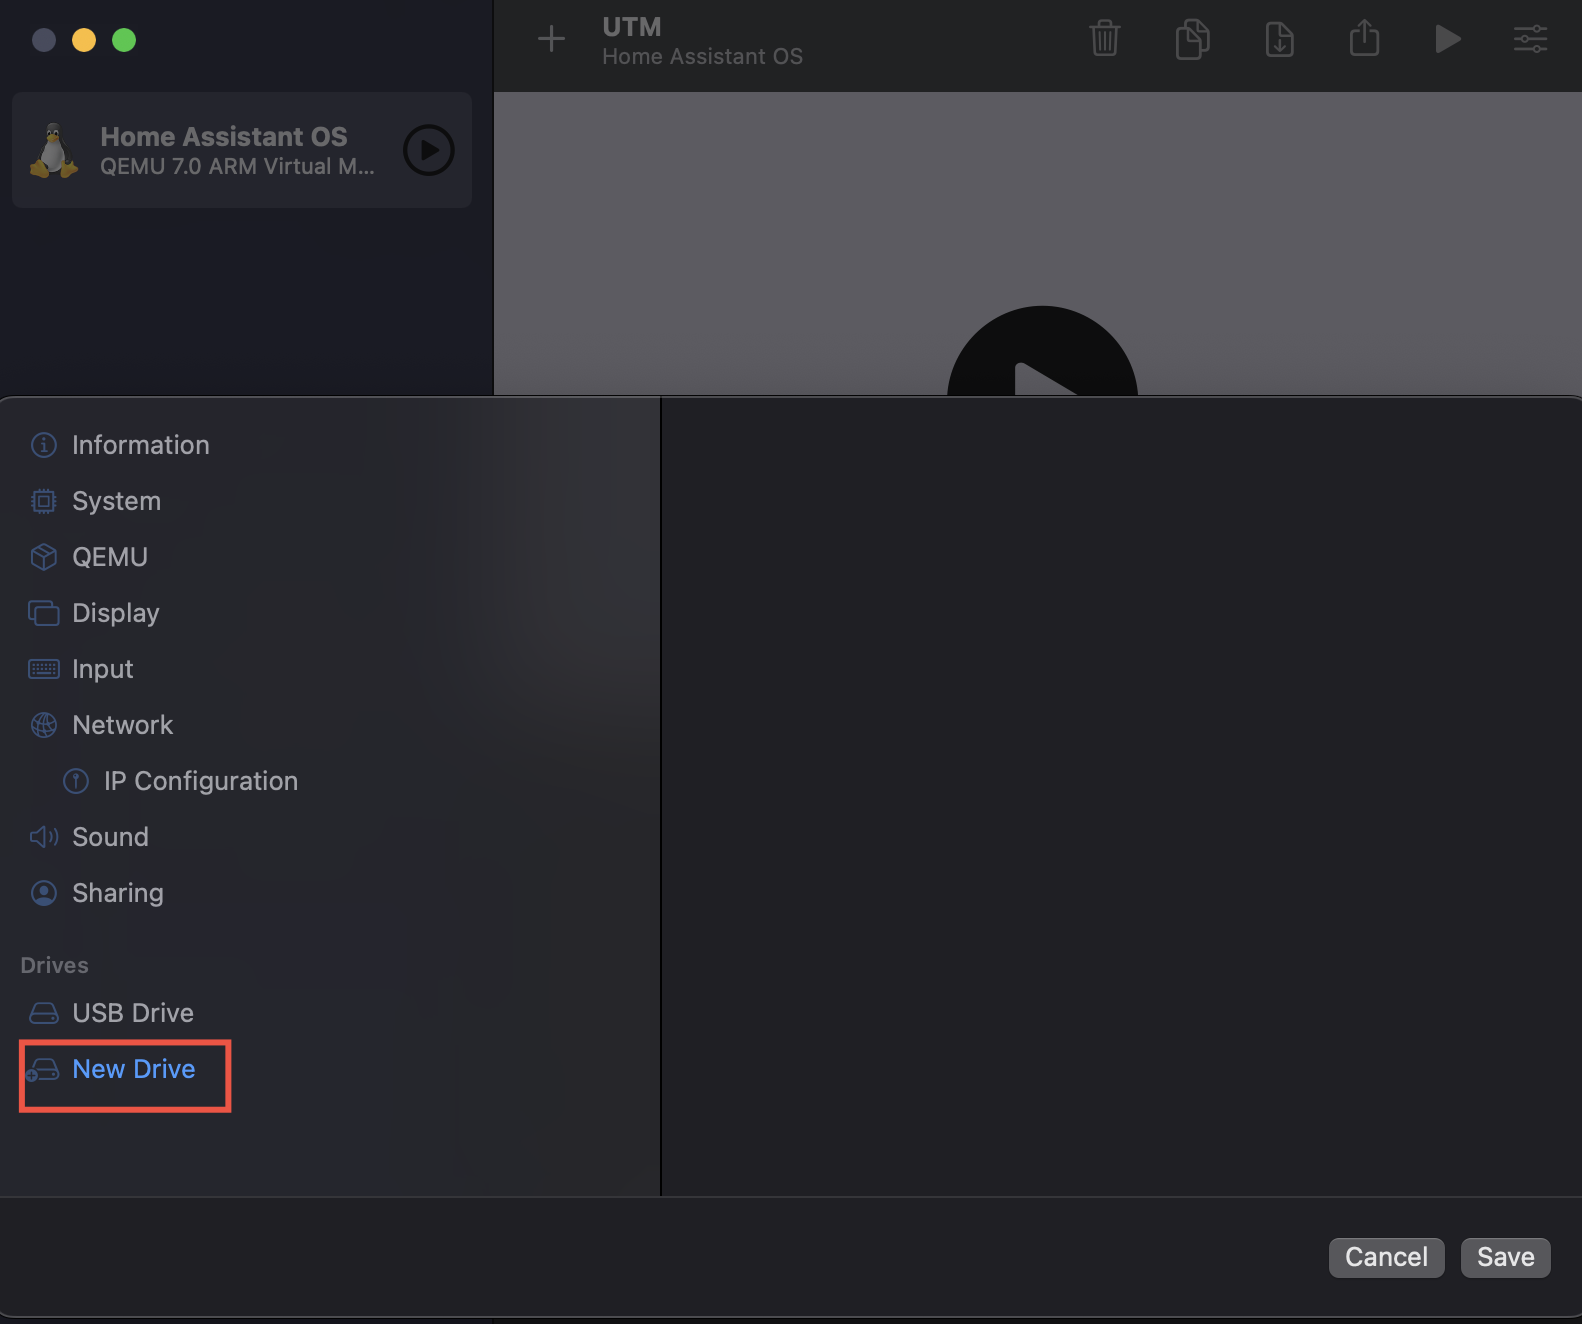
Import the qcow2 HA OS image and save 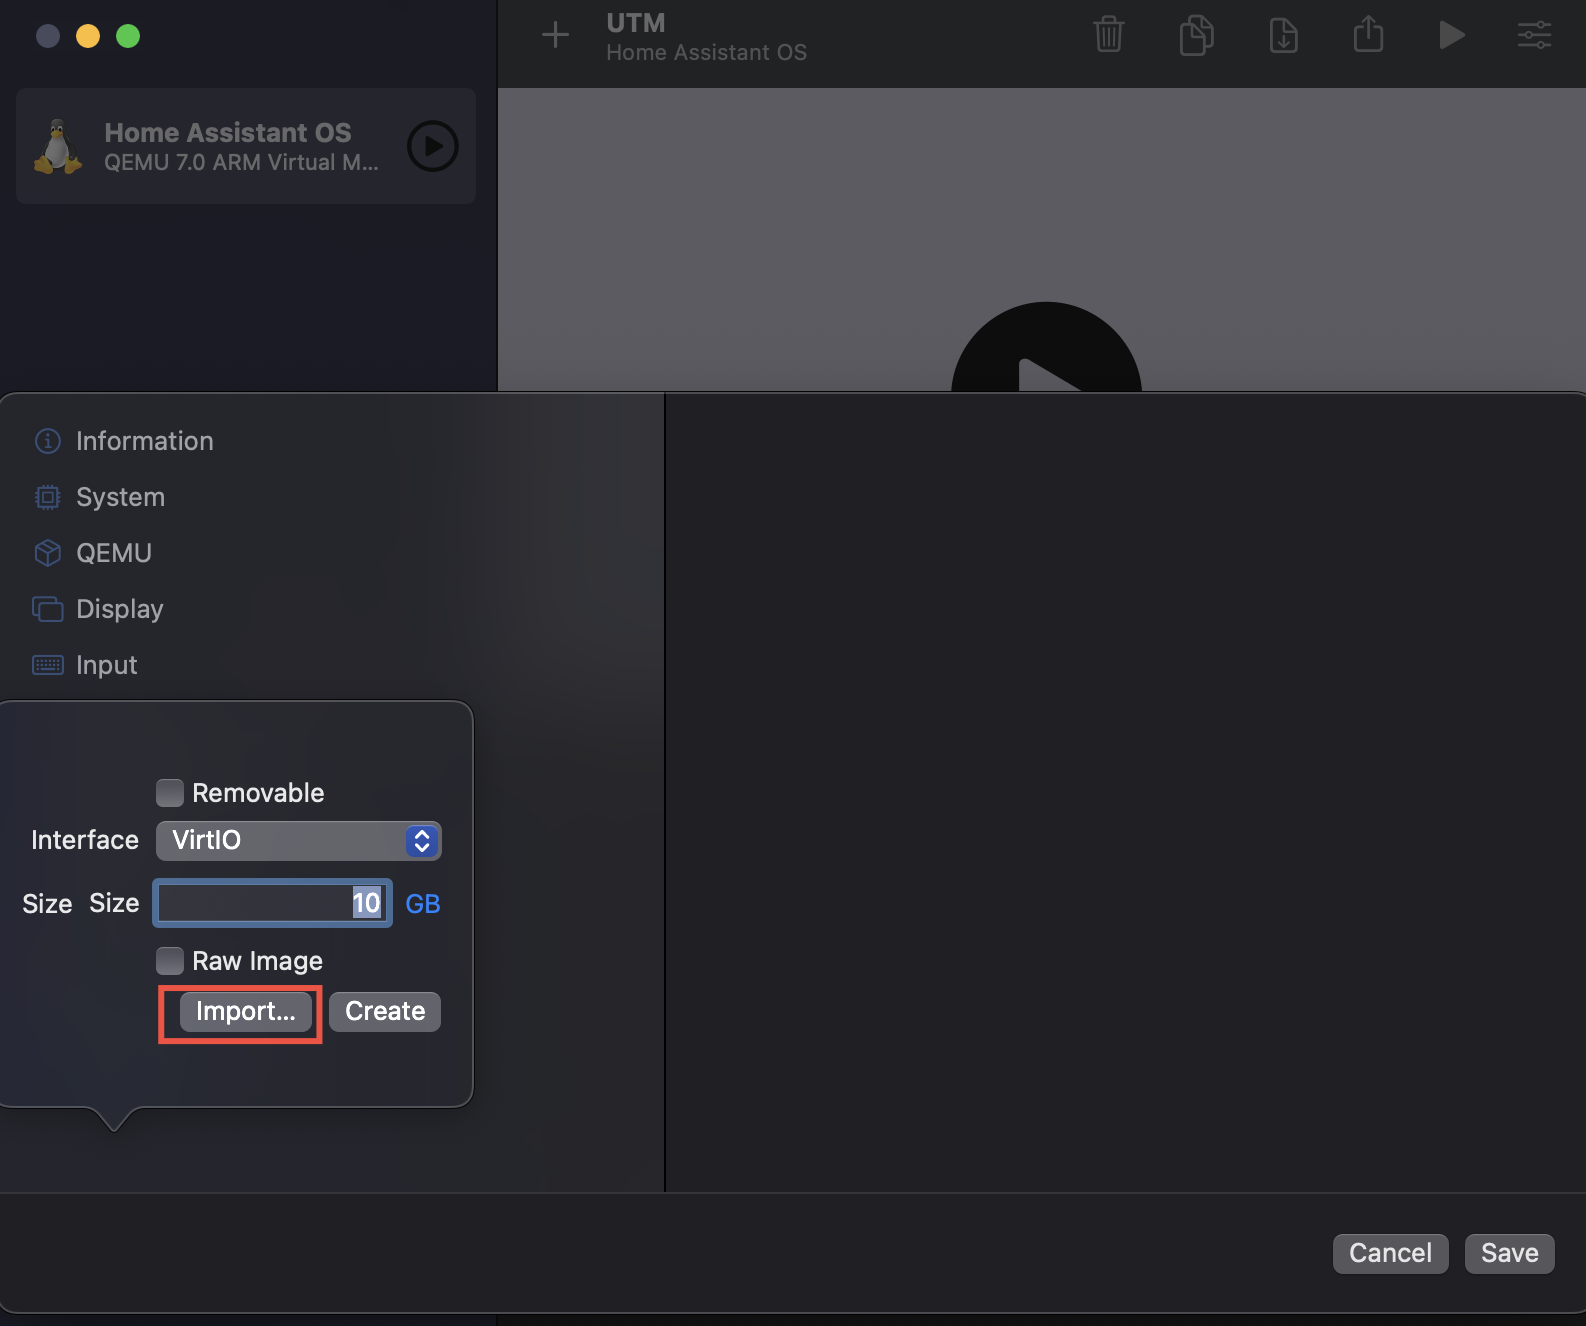
Start the VM and this should give you the details to connect to the Home Assistant interface 
Update 11/09/22: Expand disk
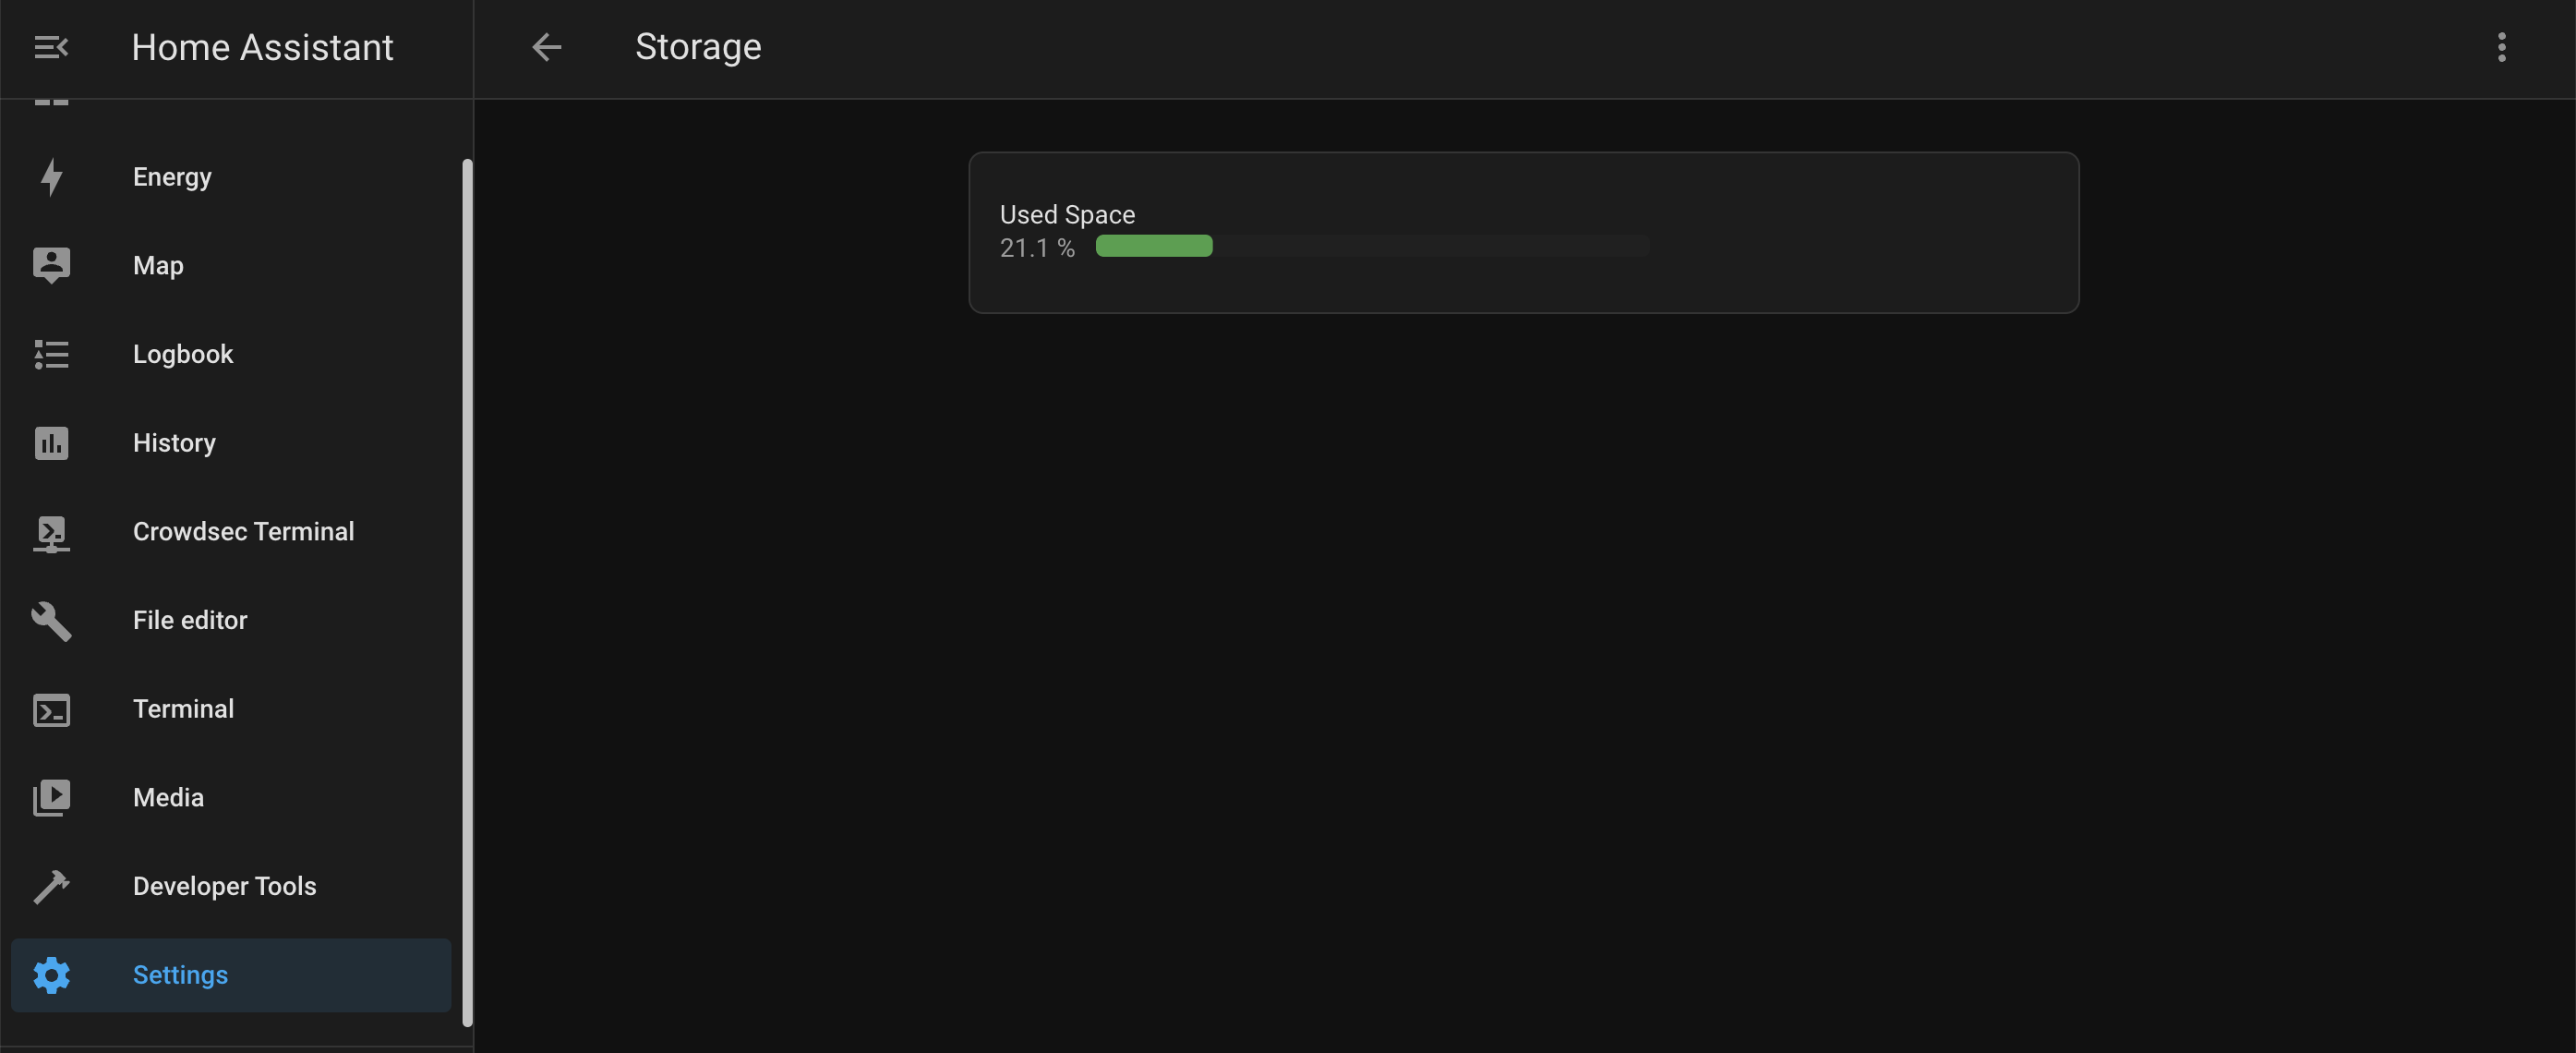
Default image comes with a disk size of 5GB which is not sufficient.
Install Qemu On MacOS
Assuming that you already have homebrew installed
qemu-img lies within the qemu package, so we’ll need to install that. Open Terminal on your Mac. Wait for the installation to finish.
1
brew install qemu
Resizing the disk
- Open UTM, right click your VM and select “Show in Finder”
- Right click the .utm file and “Show Package Contents”
- Open the “Images” folder, and now you’ll see your imported and created disk images. Your hard drive should be named something like disk.qcow2.
- Open Terminal on your Mac
- Drag your disk.qcow2 into the terminal window, to paste its path. You can also manually enter the path if you prefer that.
- Change your command, it should look something like this:
1
qemu-img resize /Users/user/Library/Containers/com.utmapp.UTM/Data/Documents/Home\ Assistant\ OS\.utm/Images/haos_generic-aarch64-9.0.rc2.qcow2 20G
Press Enter to execute the command It should say:
Image resized.Now you should be able to start the VM, and the disk should be resized to your desired amount. Home Assistant OS will automatically use this new space and resizes the partition.
- Go to Setting -> System -> Storage for validation
Quick tech note with the steps that worked for me. I am still testing and validating how stable this works. Good luck!
Comments powered by Disqus.