How to run Windows 11 on MacBook Pro M1 with VMware Fusion
VMware Fusion Public Tech Preview 22H2
Installing Windows on Macs with M1 and VMware Fusion was not working for me. Something to think about when buying a new MacBook Pro if you depend on virtualization. VMware Fusion released the public tech preview 22H2, which supports Windows 11 arm64 on a MacBook Pro M1 processor. Interesting, but the default Windows 11 does not come with a driver for the vxnet3 network card type. A virtual machine without network connectivity is pretty useless. Changing the card to e1000 type in the vmx file worked, but installing the VMware tools during the installation is a better solution. Here are my notes on how it worked for me.
Download and Install VMware Fusion Public Tech Preview 22H2 from the following link
Download Windows 11 installer
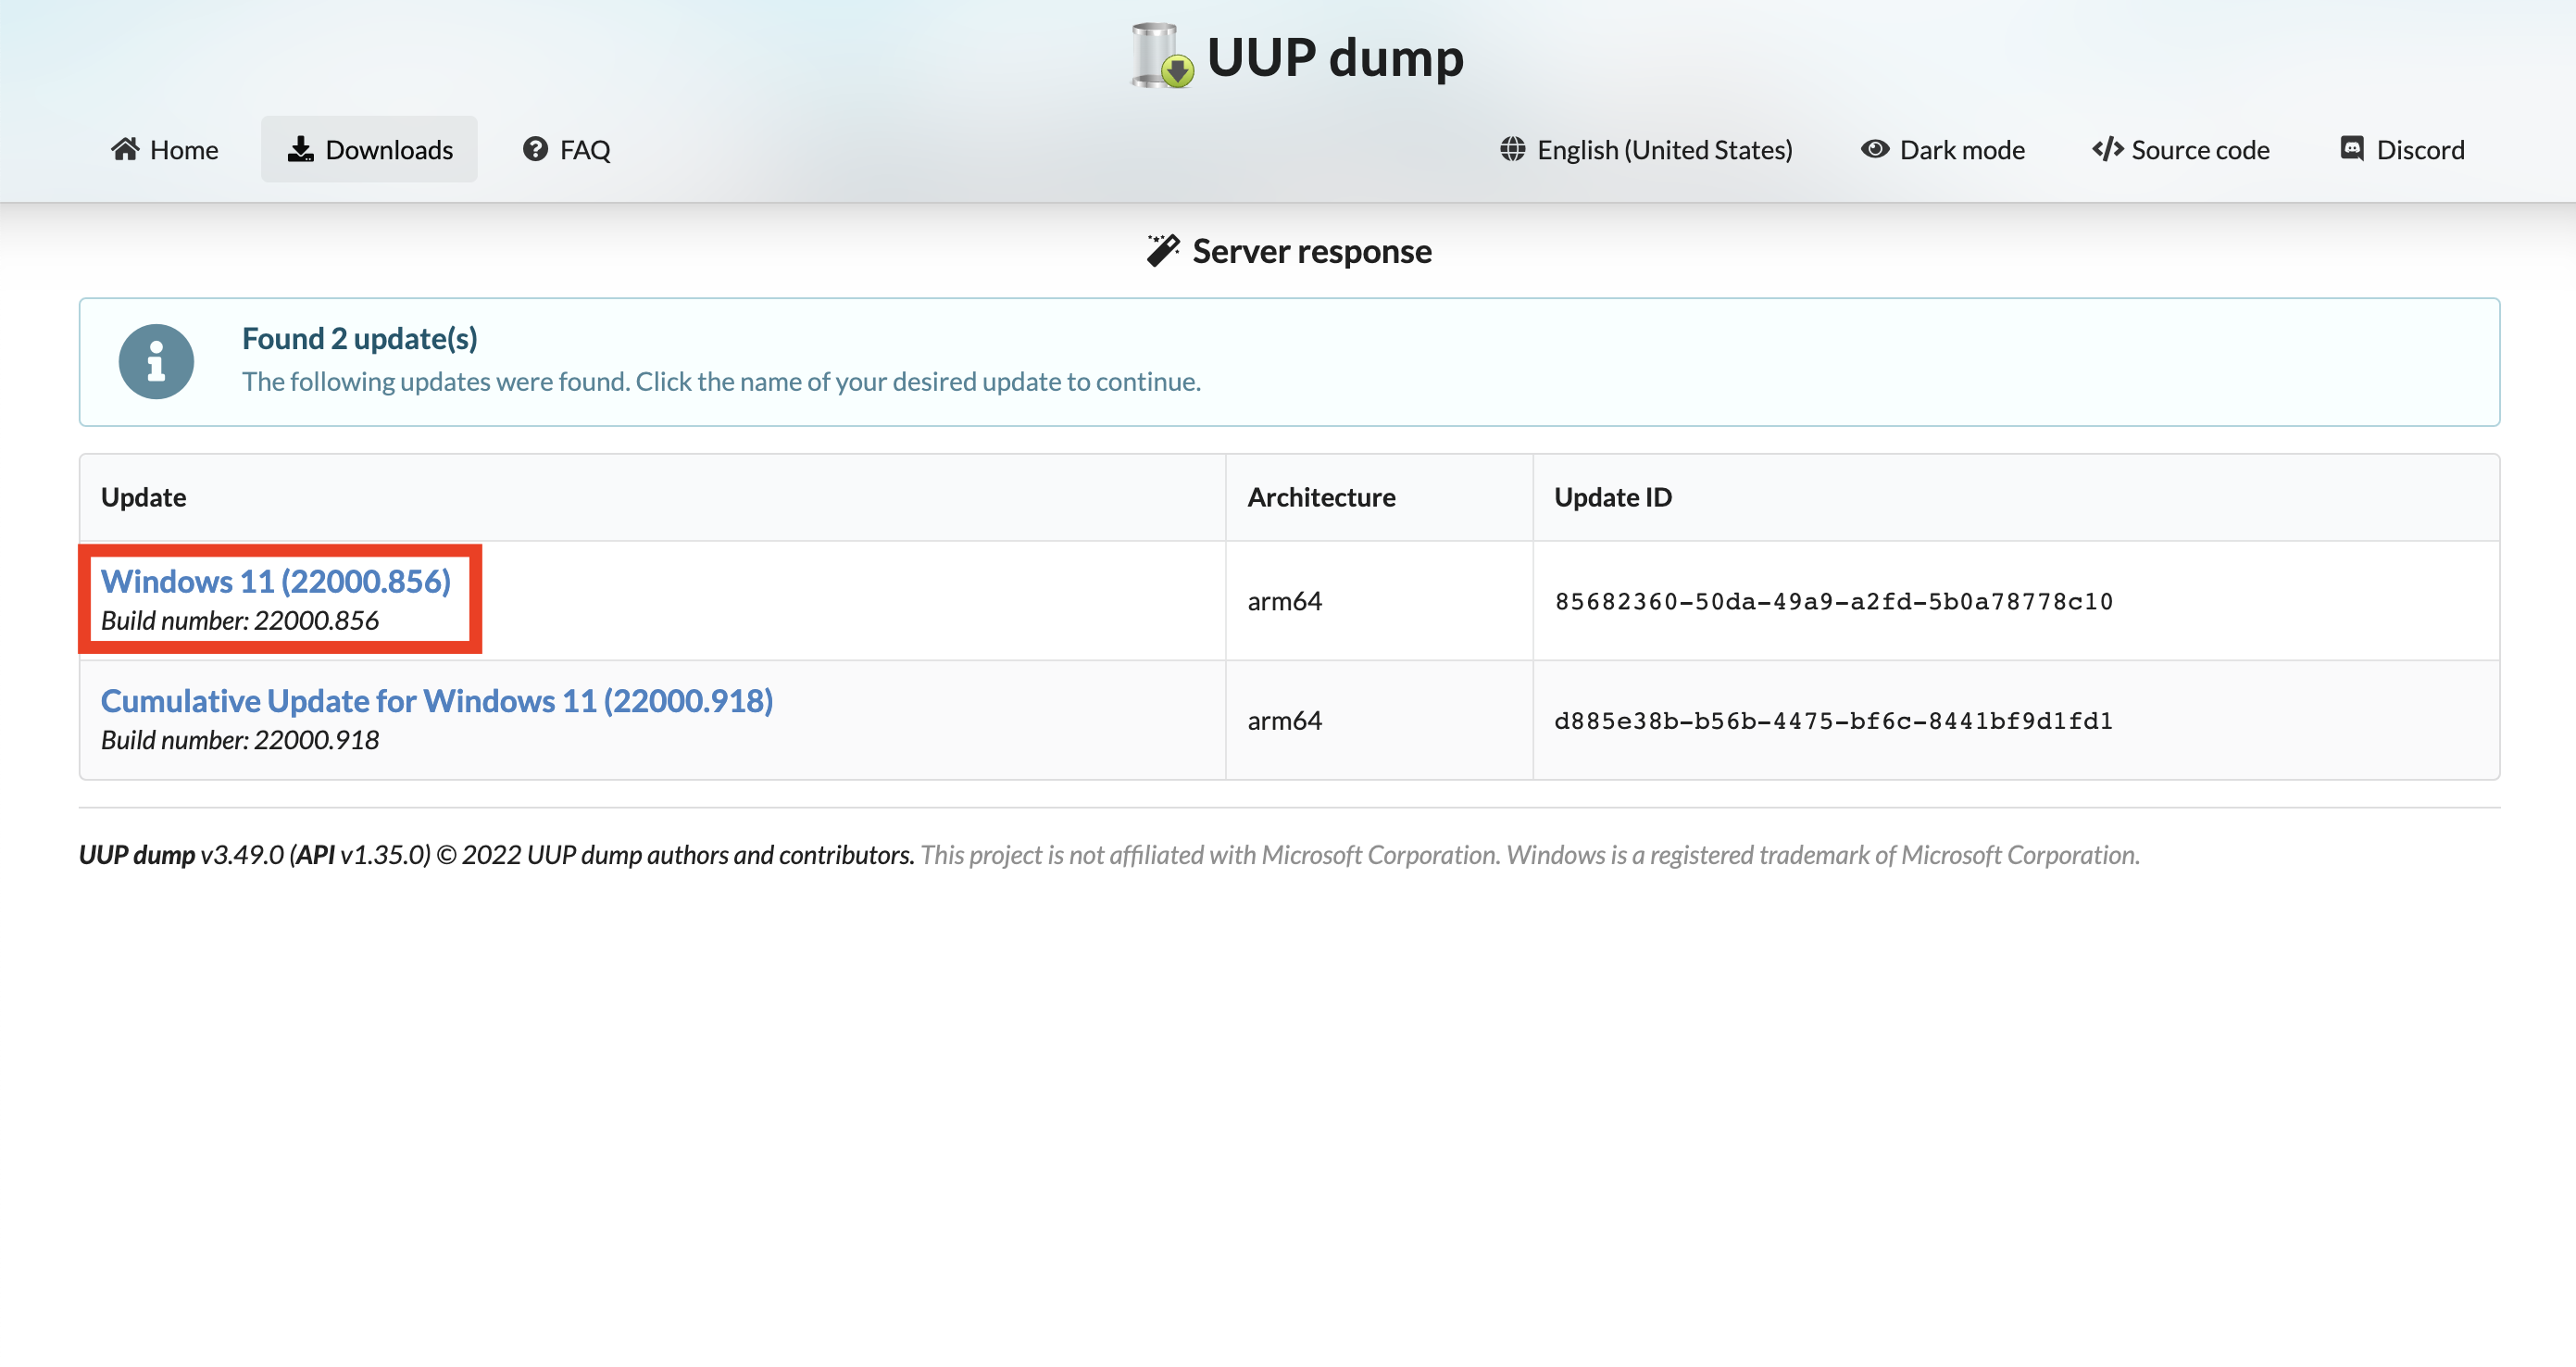
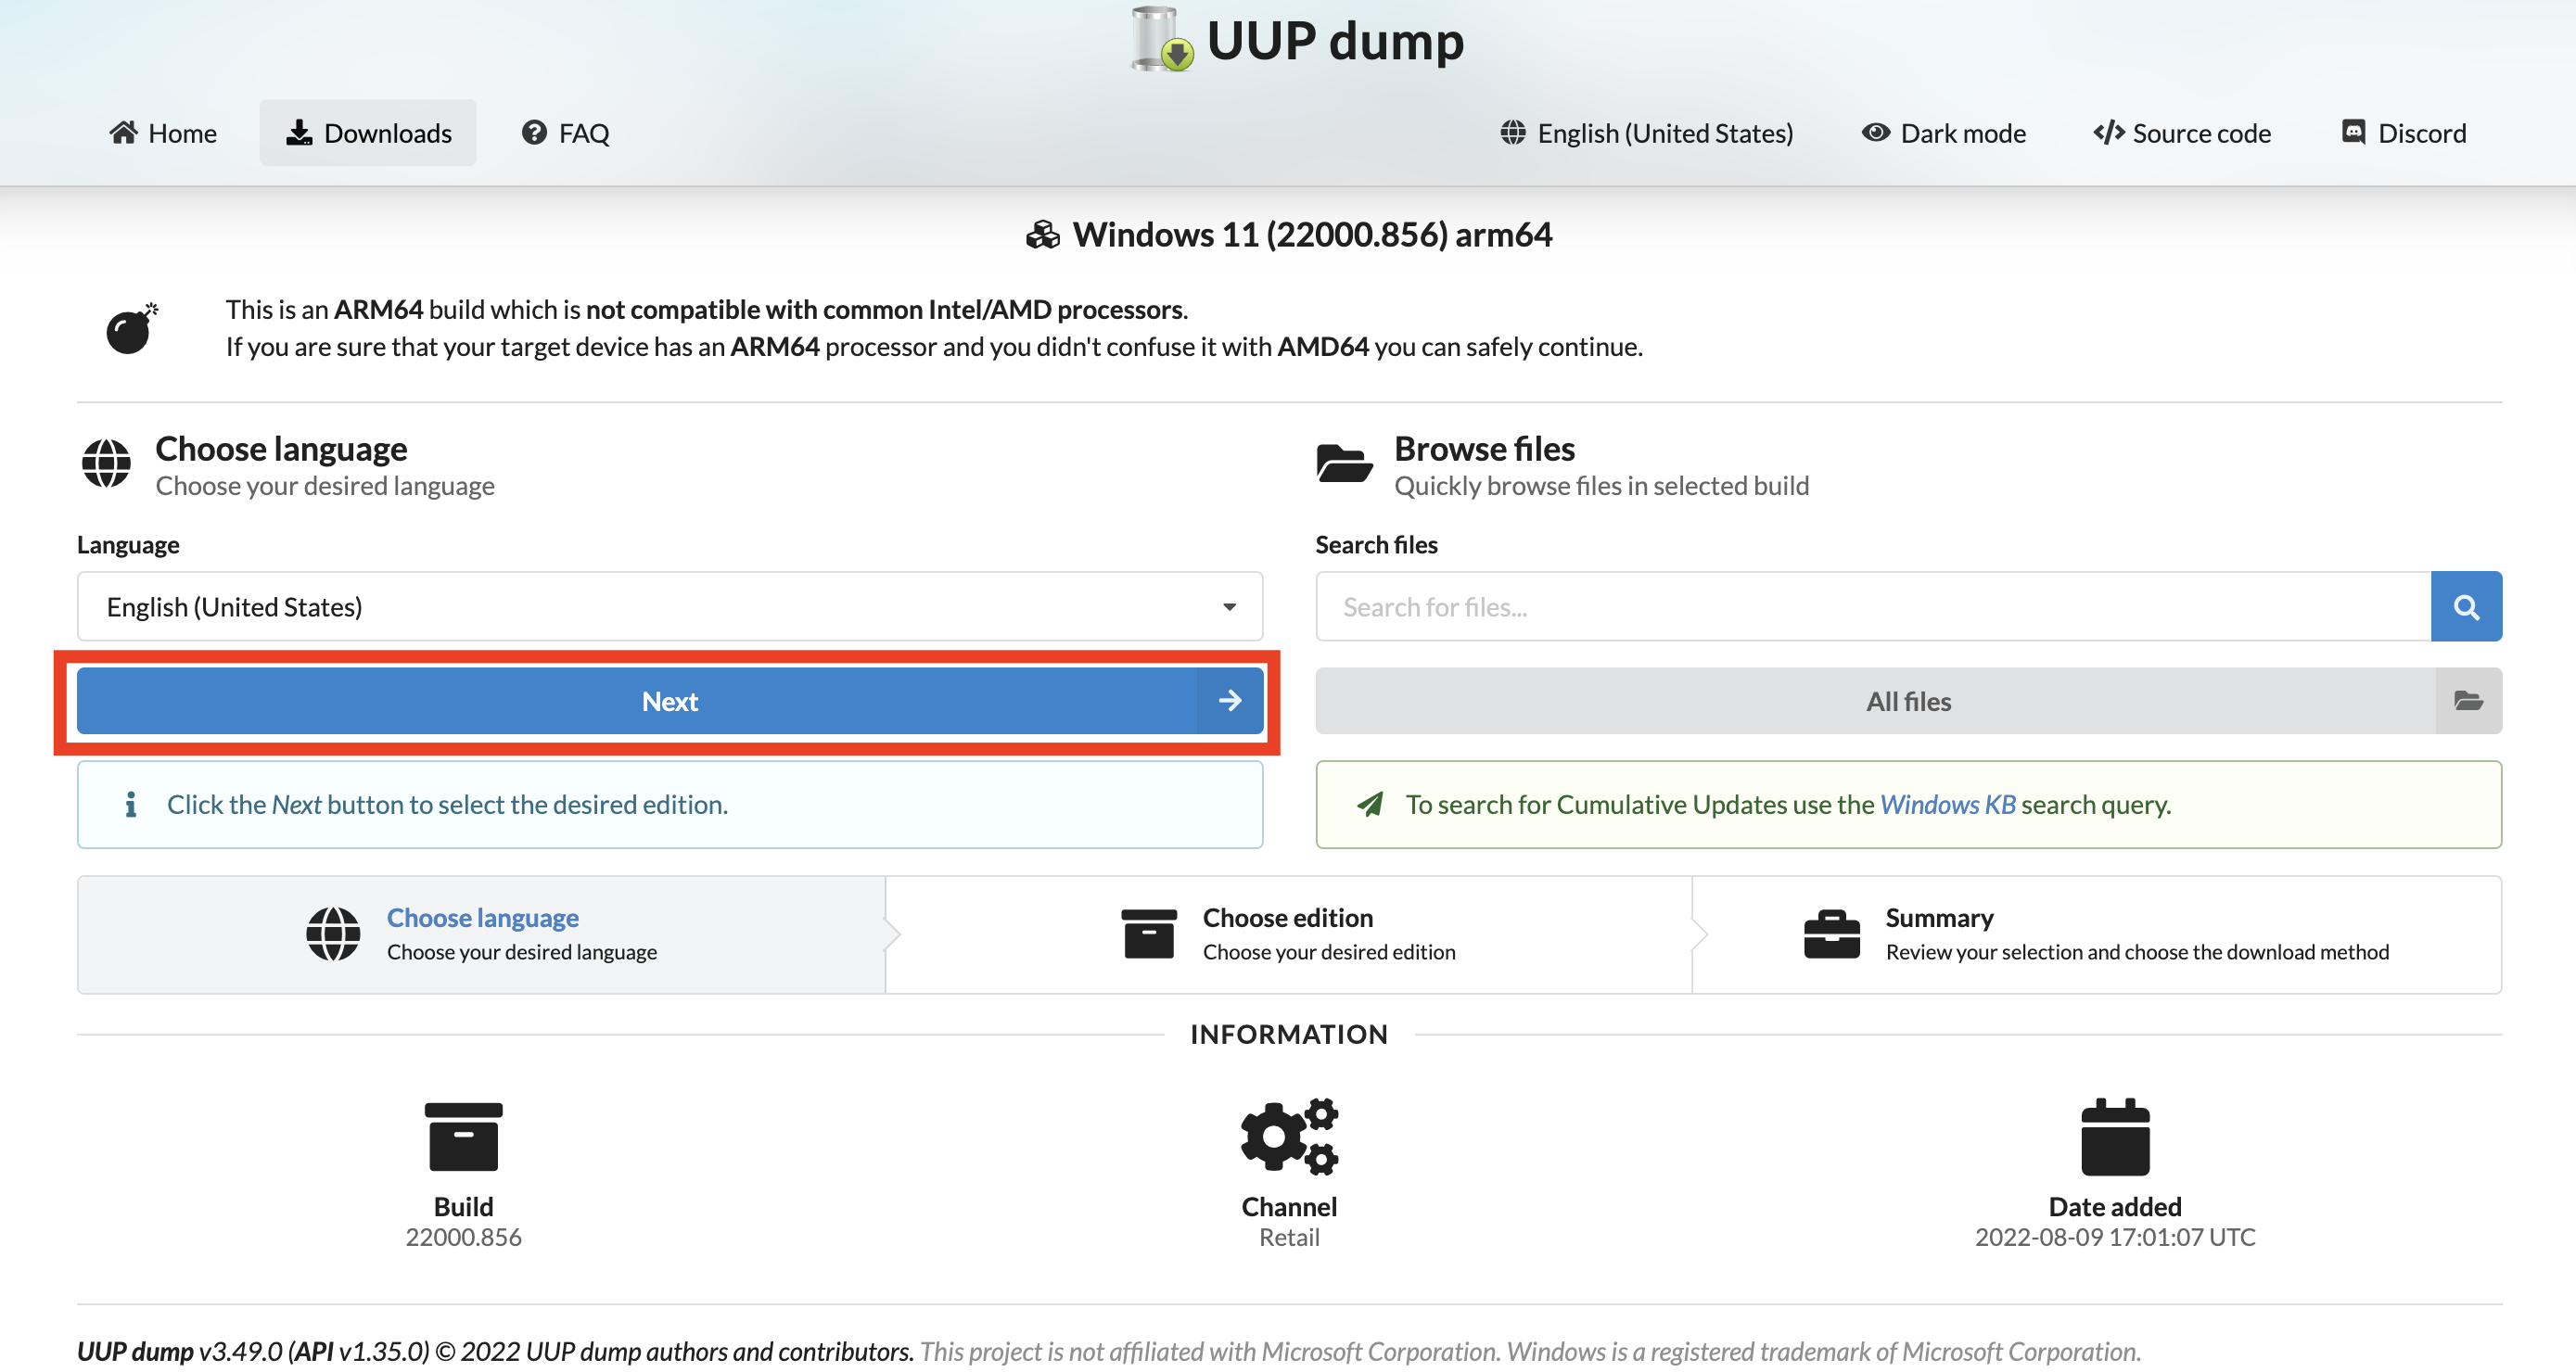
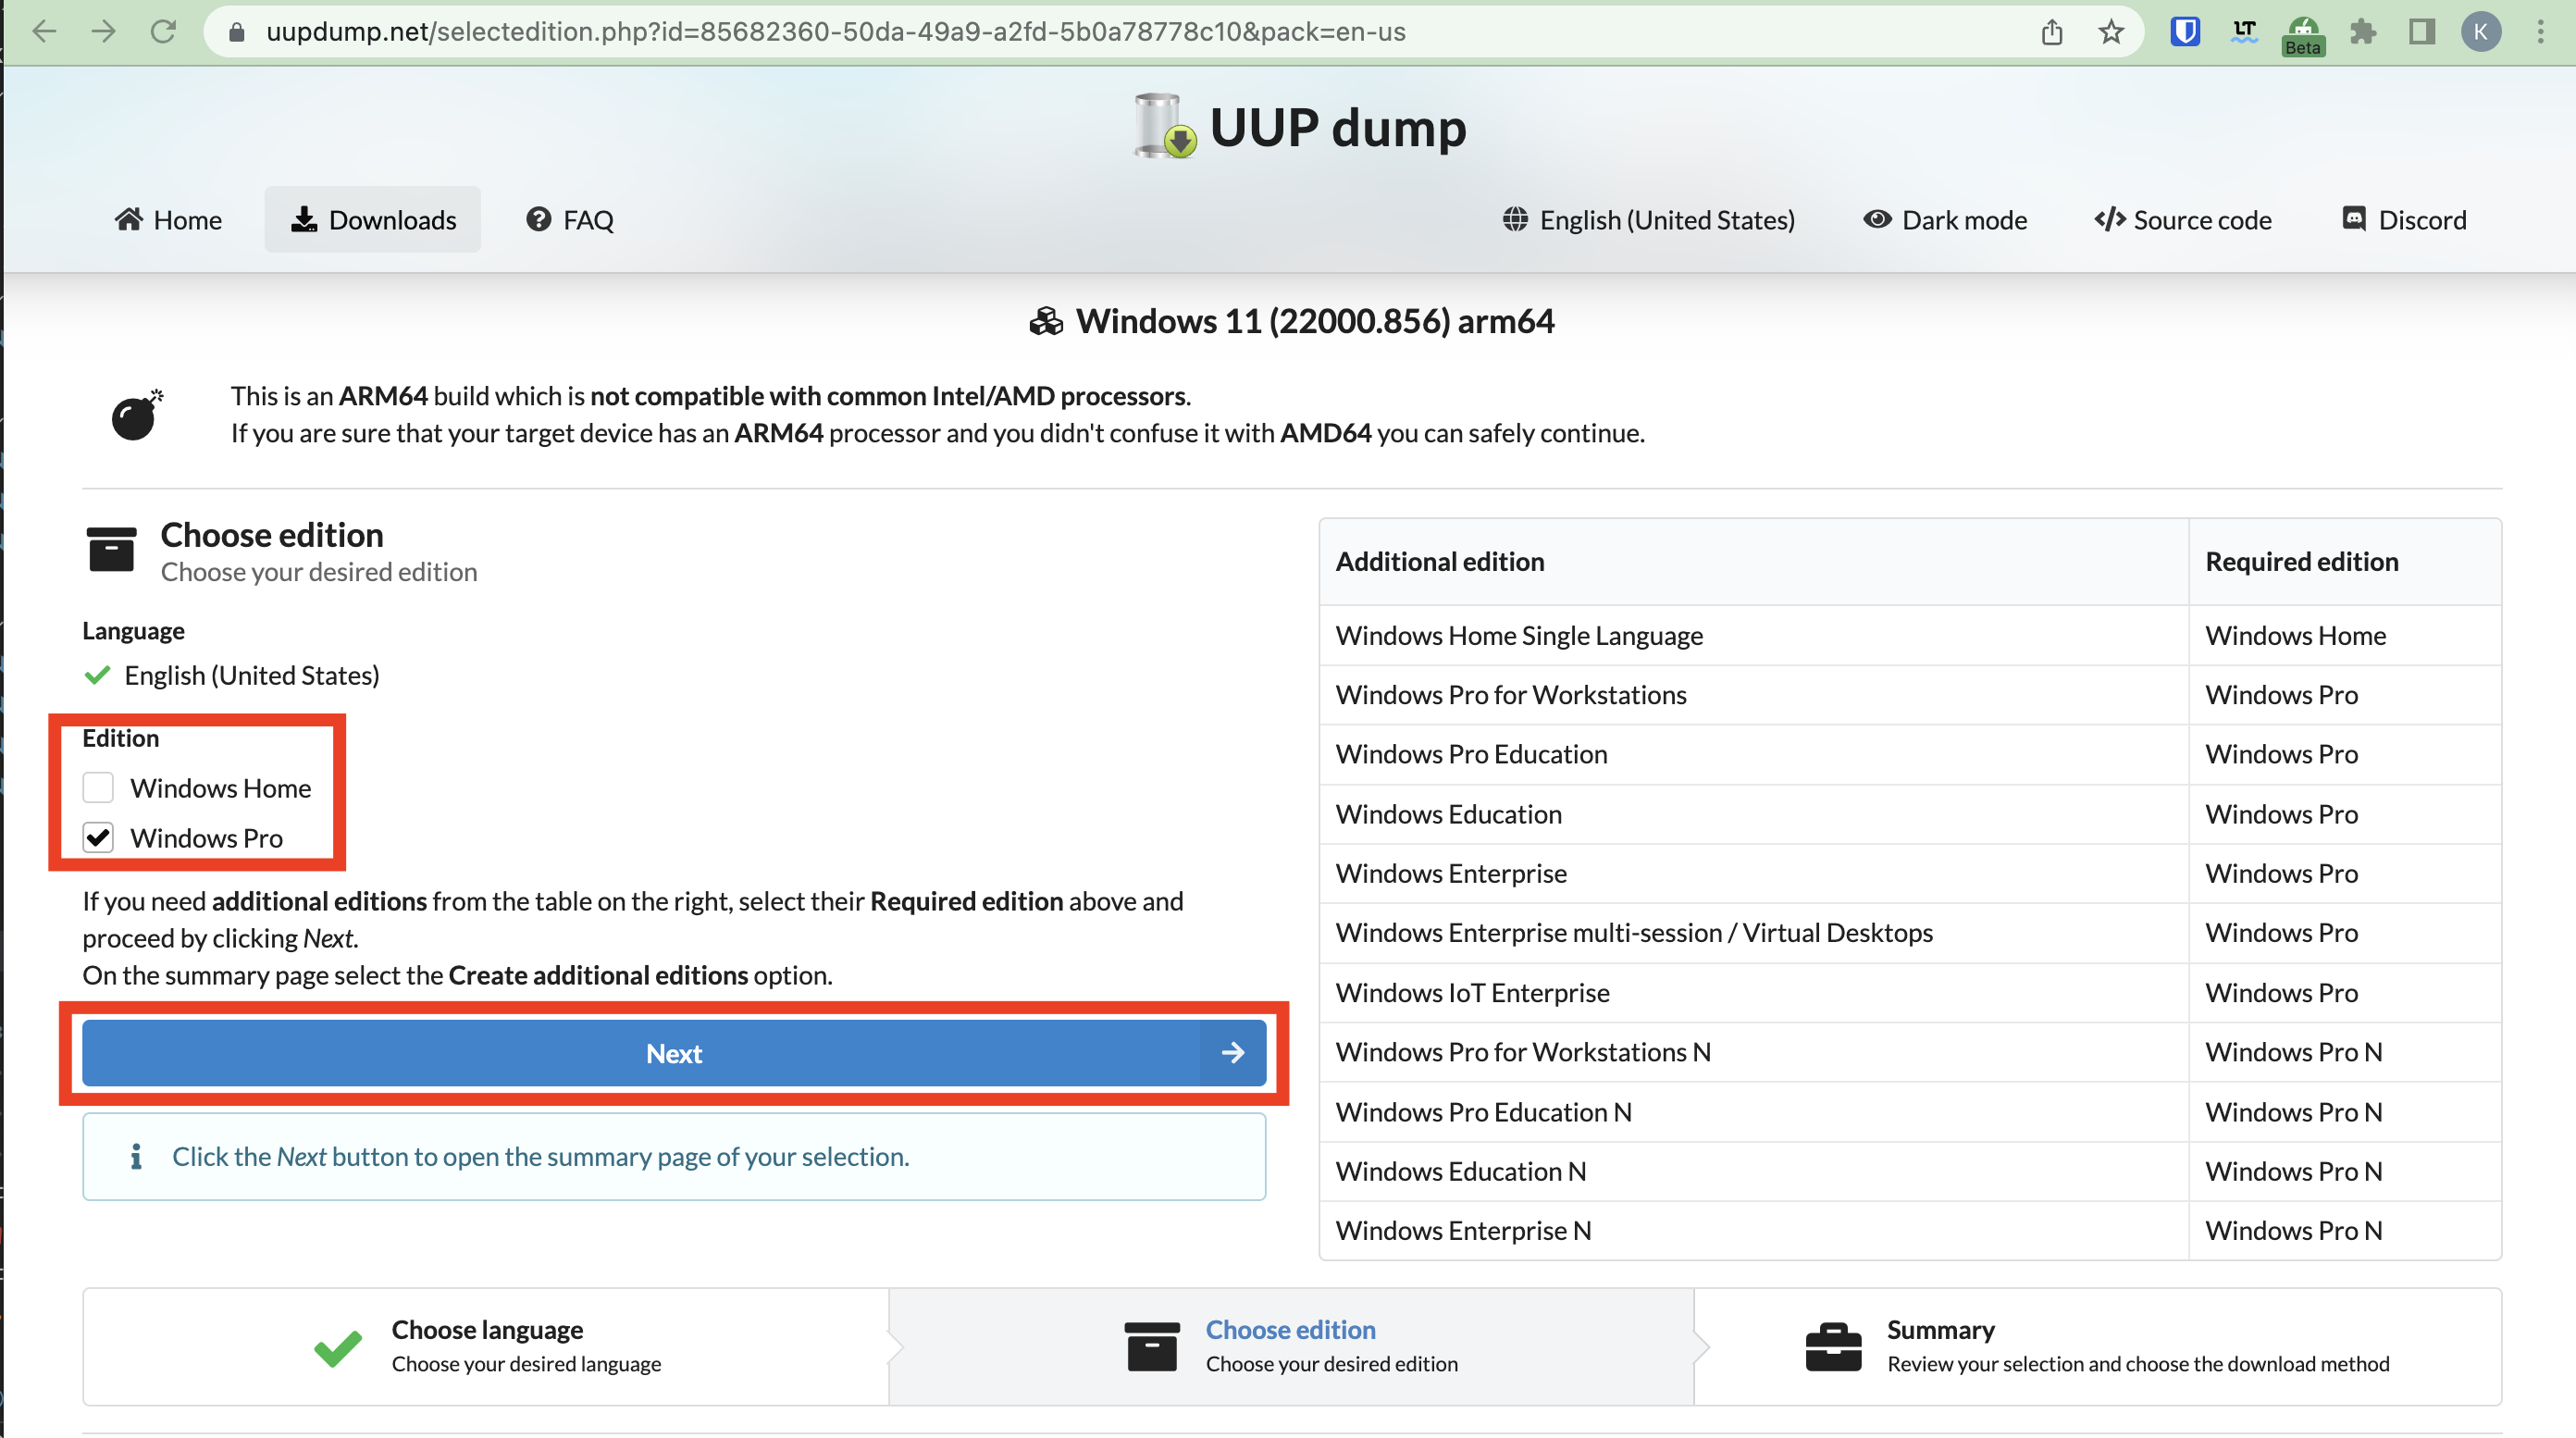
For this we will use arm64 version of Windows 11, you can download it from uupdump.net.
I used the “Latest Public Release build” -> arm64 
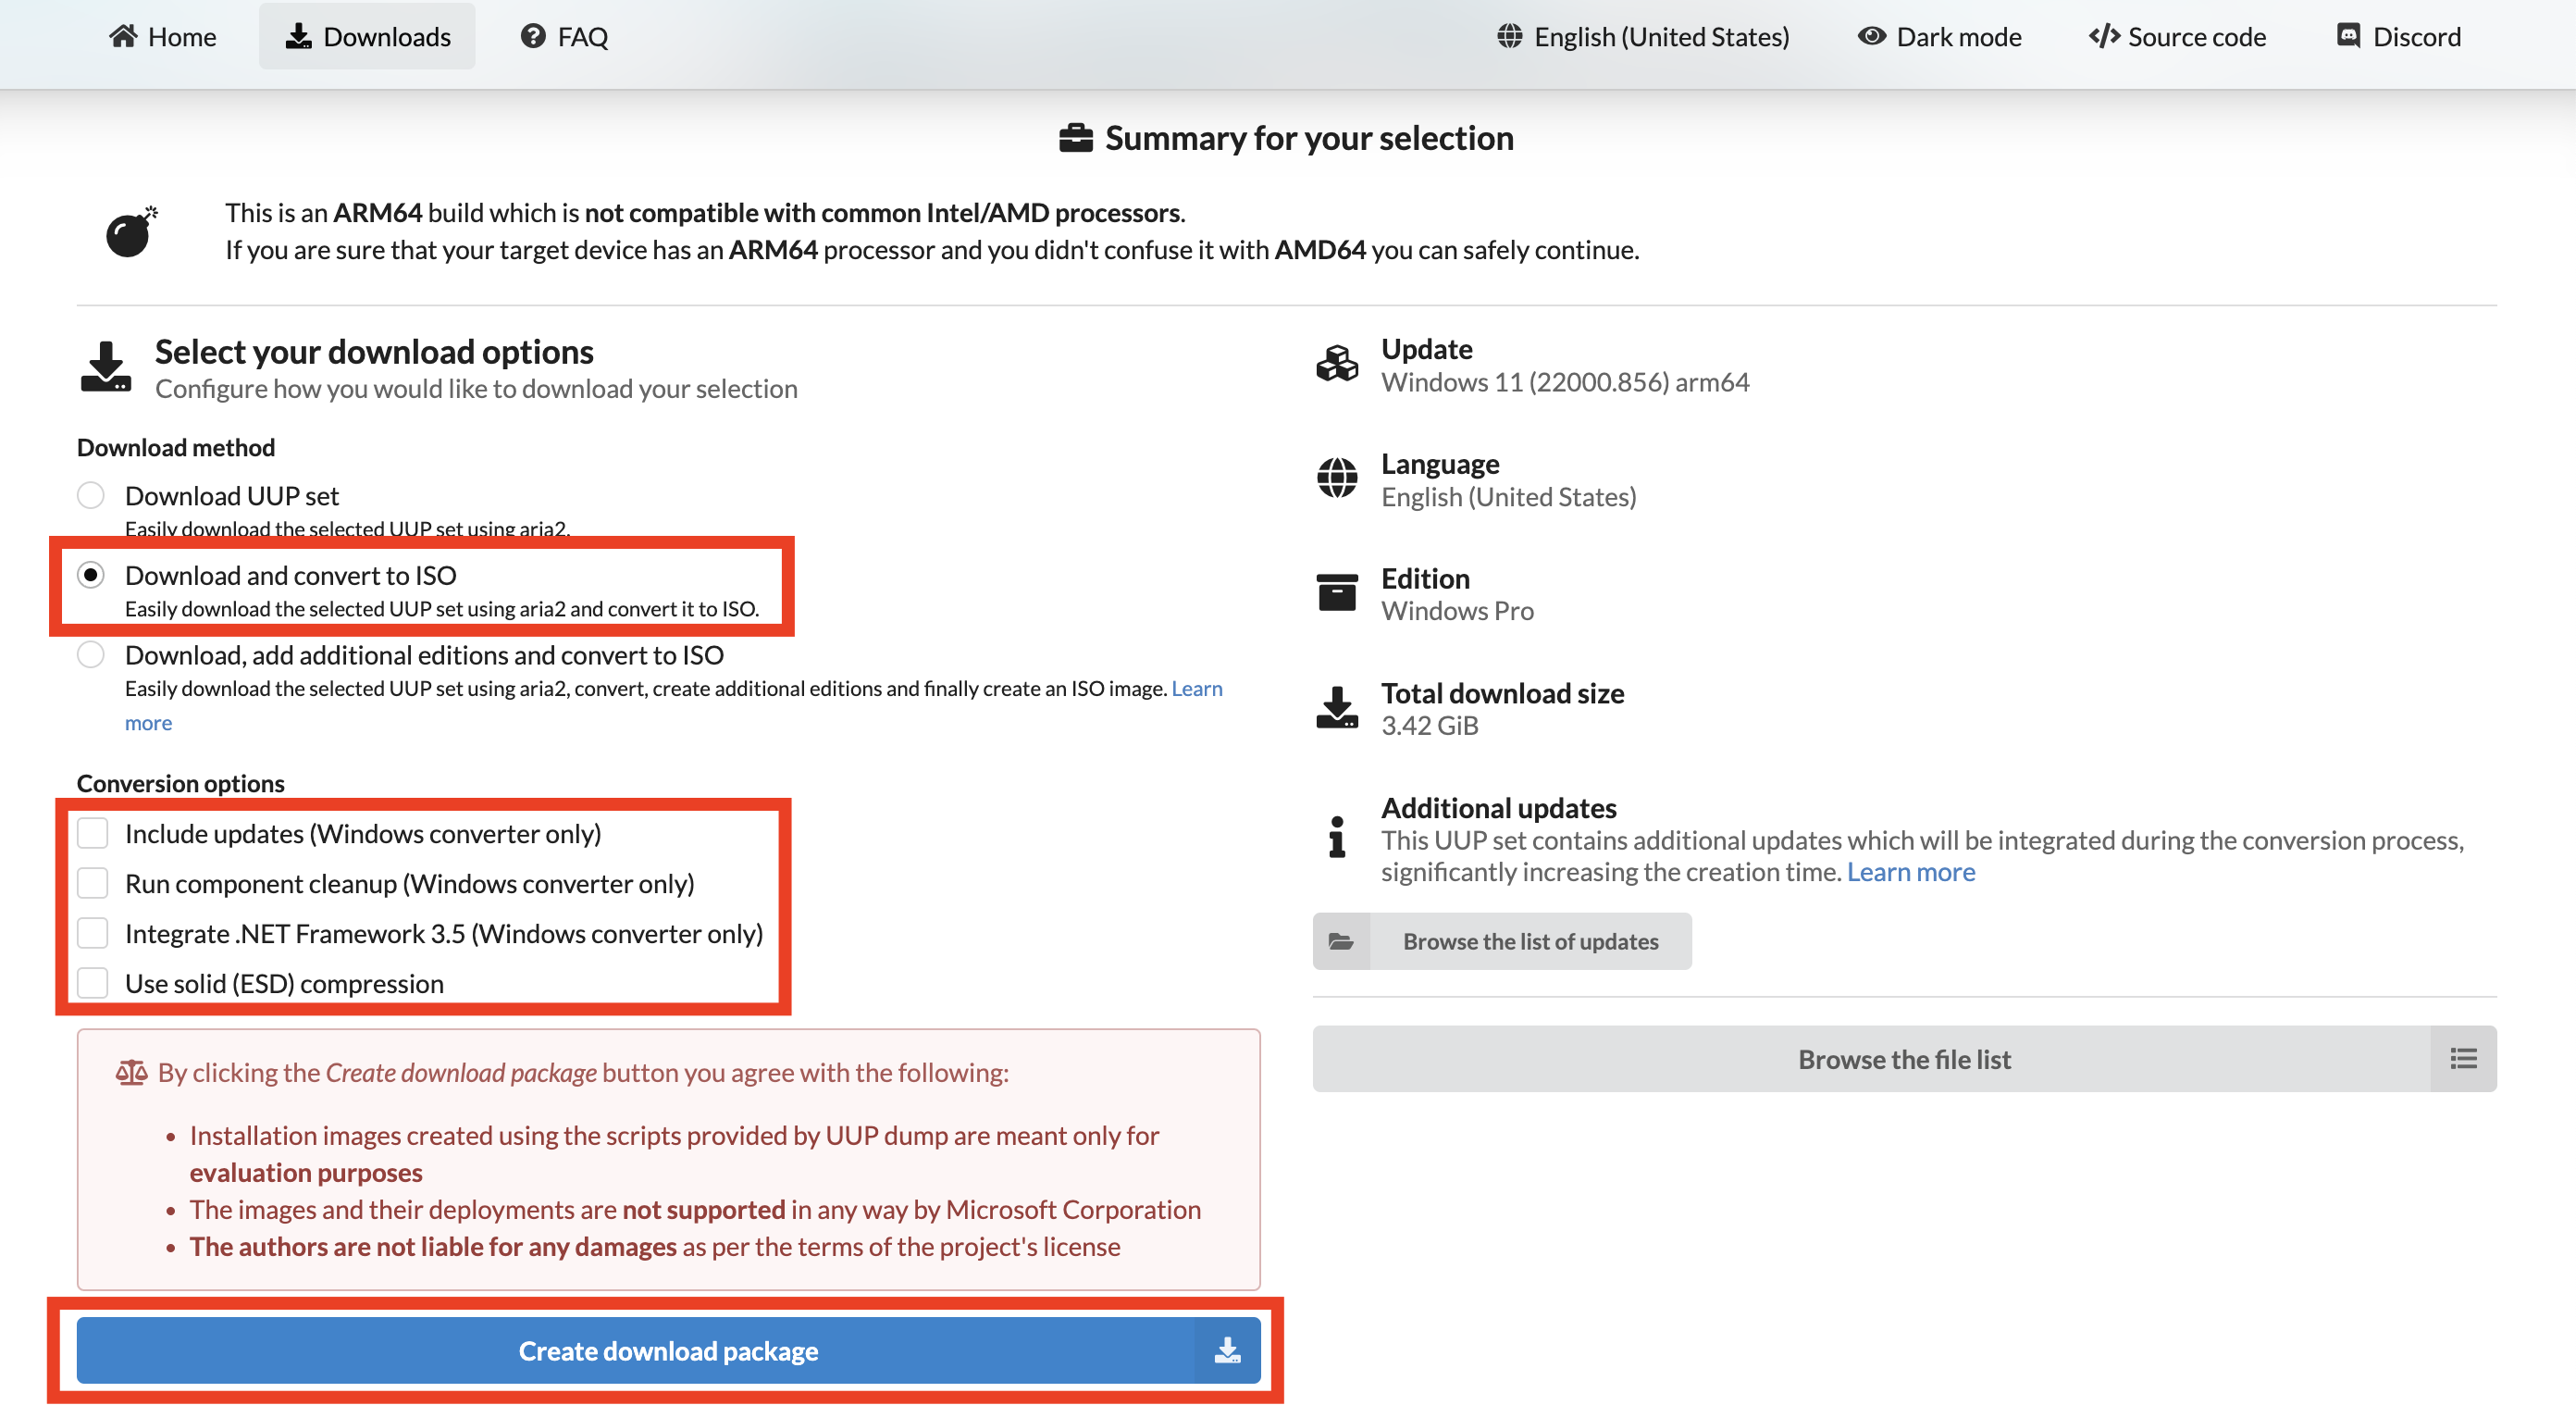
Once you download the archive, open or extract it on your disk. You will need the file: uup_download_macos.sh
You will also need a couple of utilities on MacOS before you can run this script
Get utilities and create the Windows 11 ISO file
To install the required utilities you need to use Homebrew (the package manager for Mac OS).
If you don’t have brew, get the installation instructions from: https://brew.sh/
Open your terminal and install the following utilities:
1
2
brew tap minacle/chntpw
brew install aria2 cabextract wimlib cdrtools minacle/chntpw/chntpw
In your terminal, go to the downloaded archive folder and run the script.
1
bash uup_download_macos.sh
It will download all relevant files and it will take a couple of minutes. When finished you will have a new .iso file in that folder. For example: 22000.1_PROFESSIONAL_ARM64_EN-US.ISO. This is our Windows 11 installer.
# Installation Windows 11 Virtual Machine
Create the Windows 11 arm64 virtual machine type and select the ISO file as source. You can keep the default setting or change them to your needs. Make sure to select “advanced” or new installation and not upgrade existing on the disk selection screen.
Follow the normal installation steps but do not answer any of the questions when you see the following screen.
Instead, press Shift-fn-F10 to open a command line prompt. 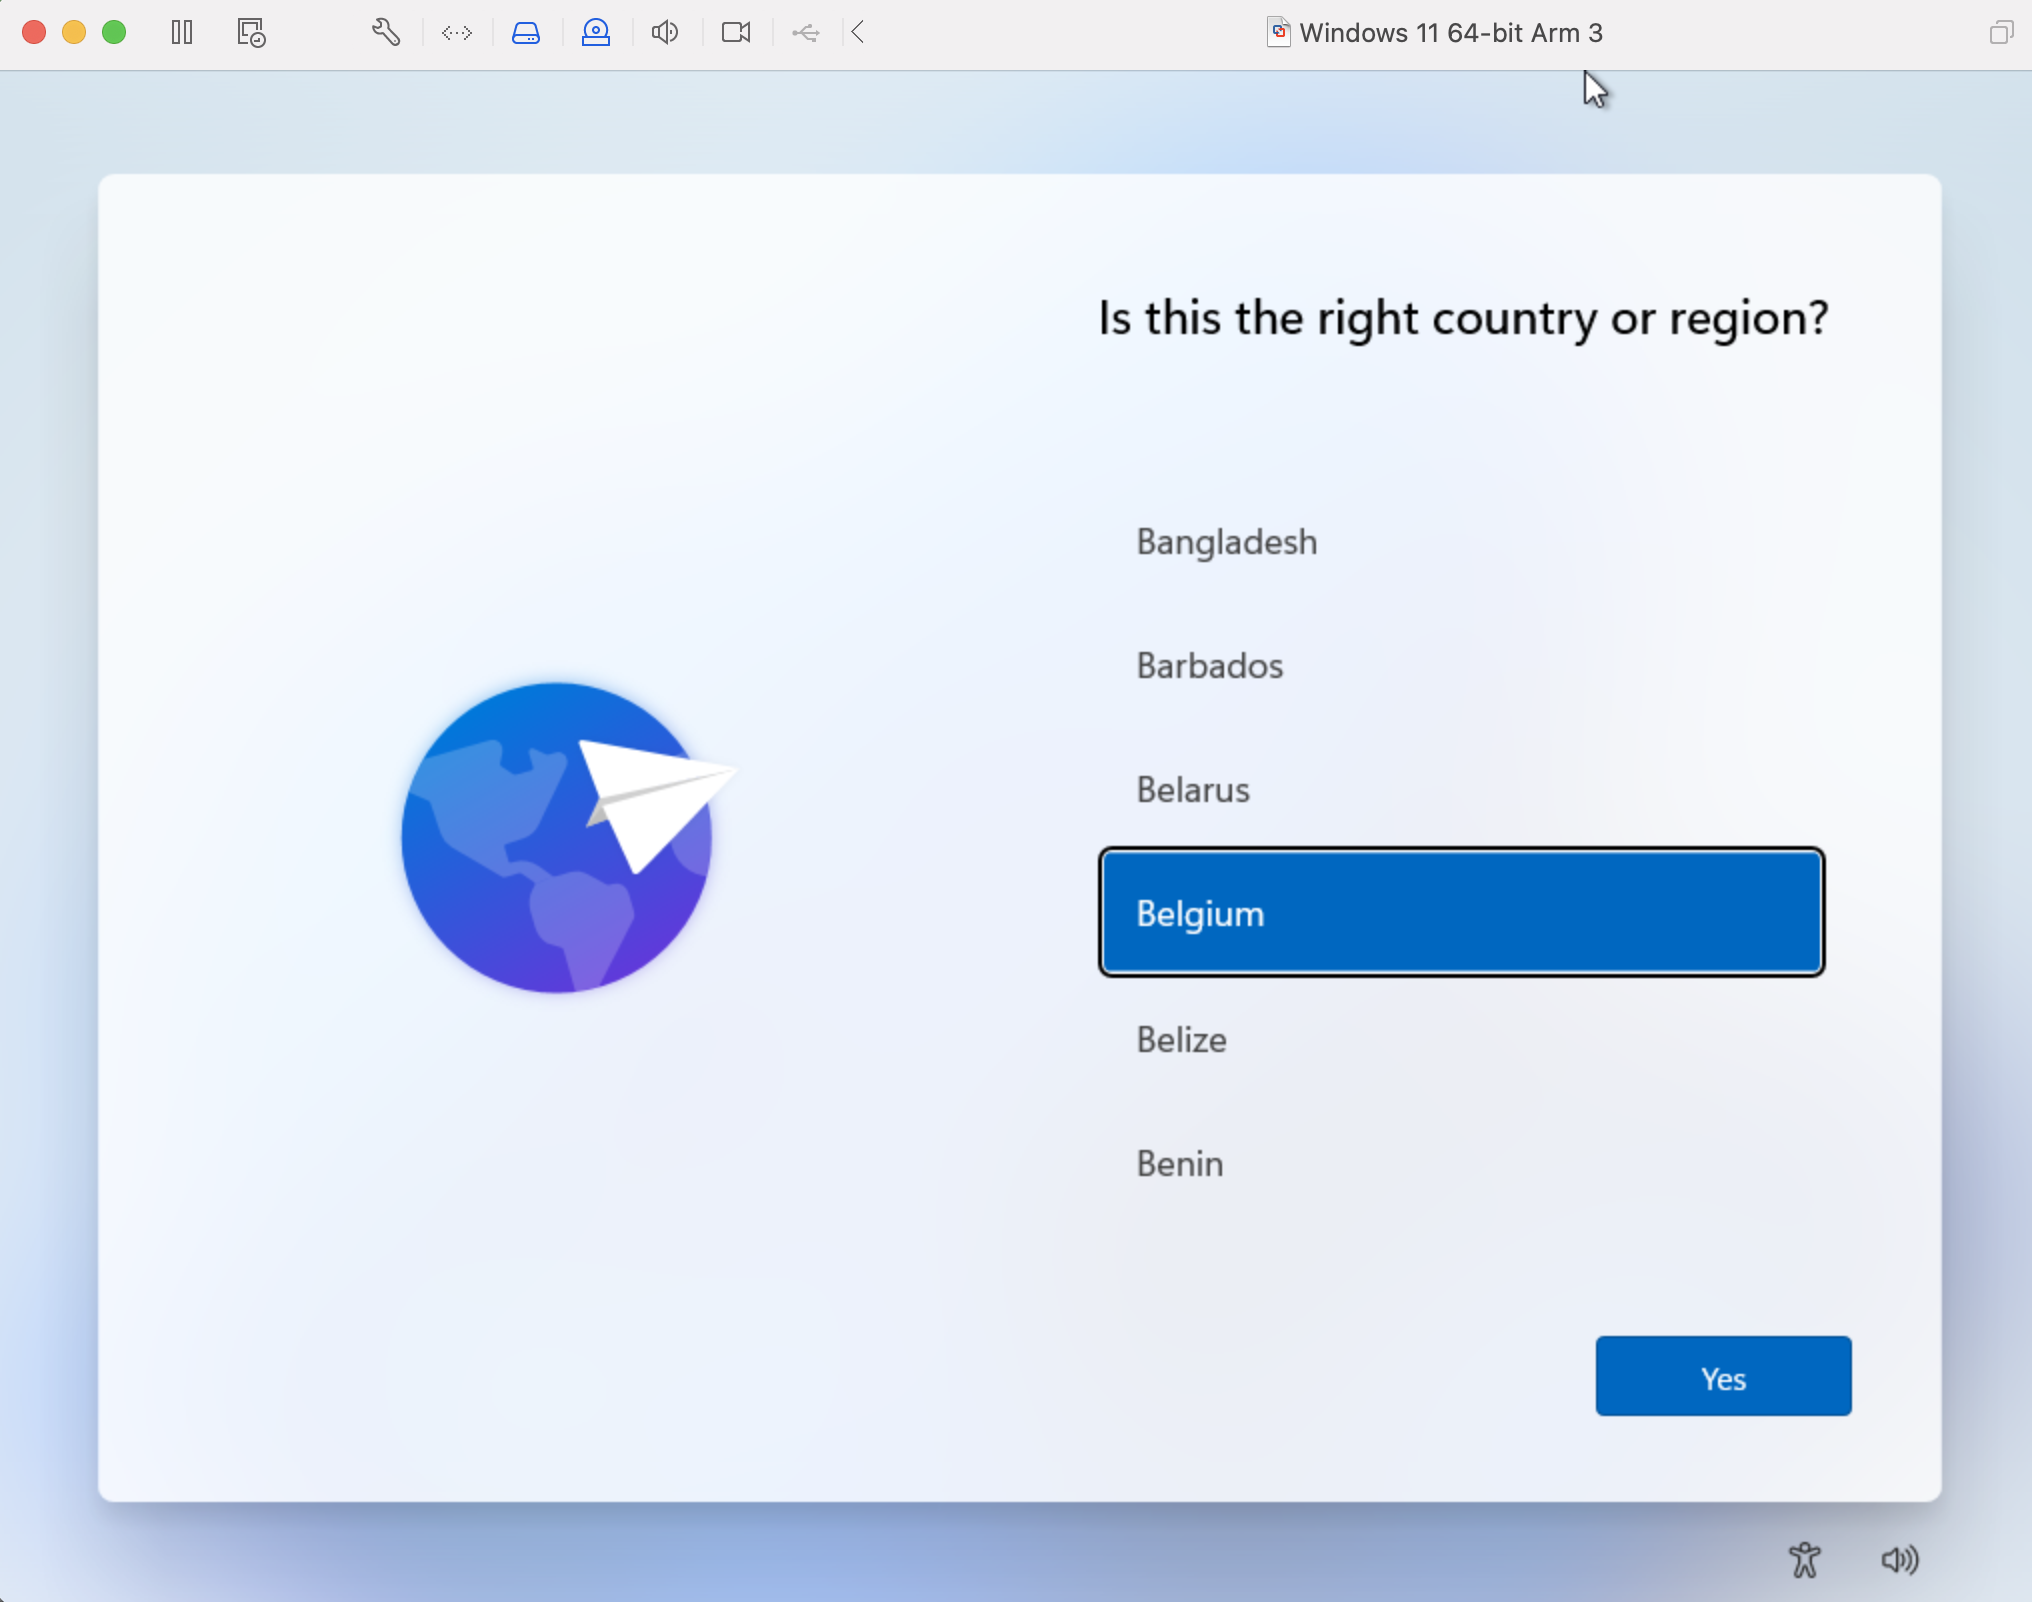
In the VM command line prompt, execute PowerShell
1
powershell
The Windows command line prompt will be replaced by a PowerShell prompt. 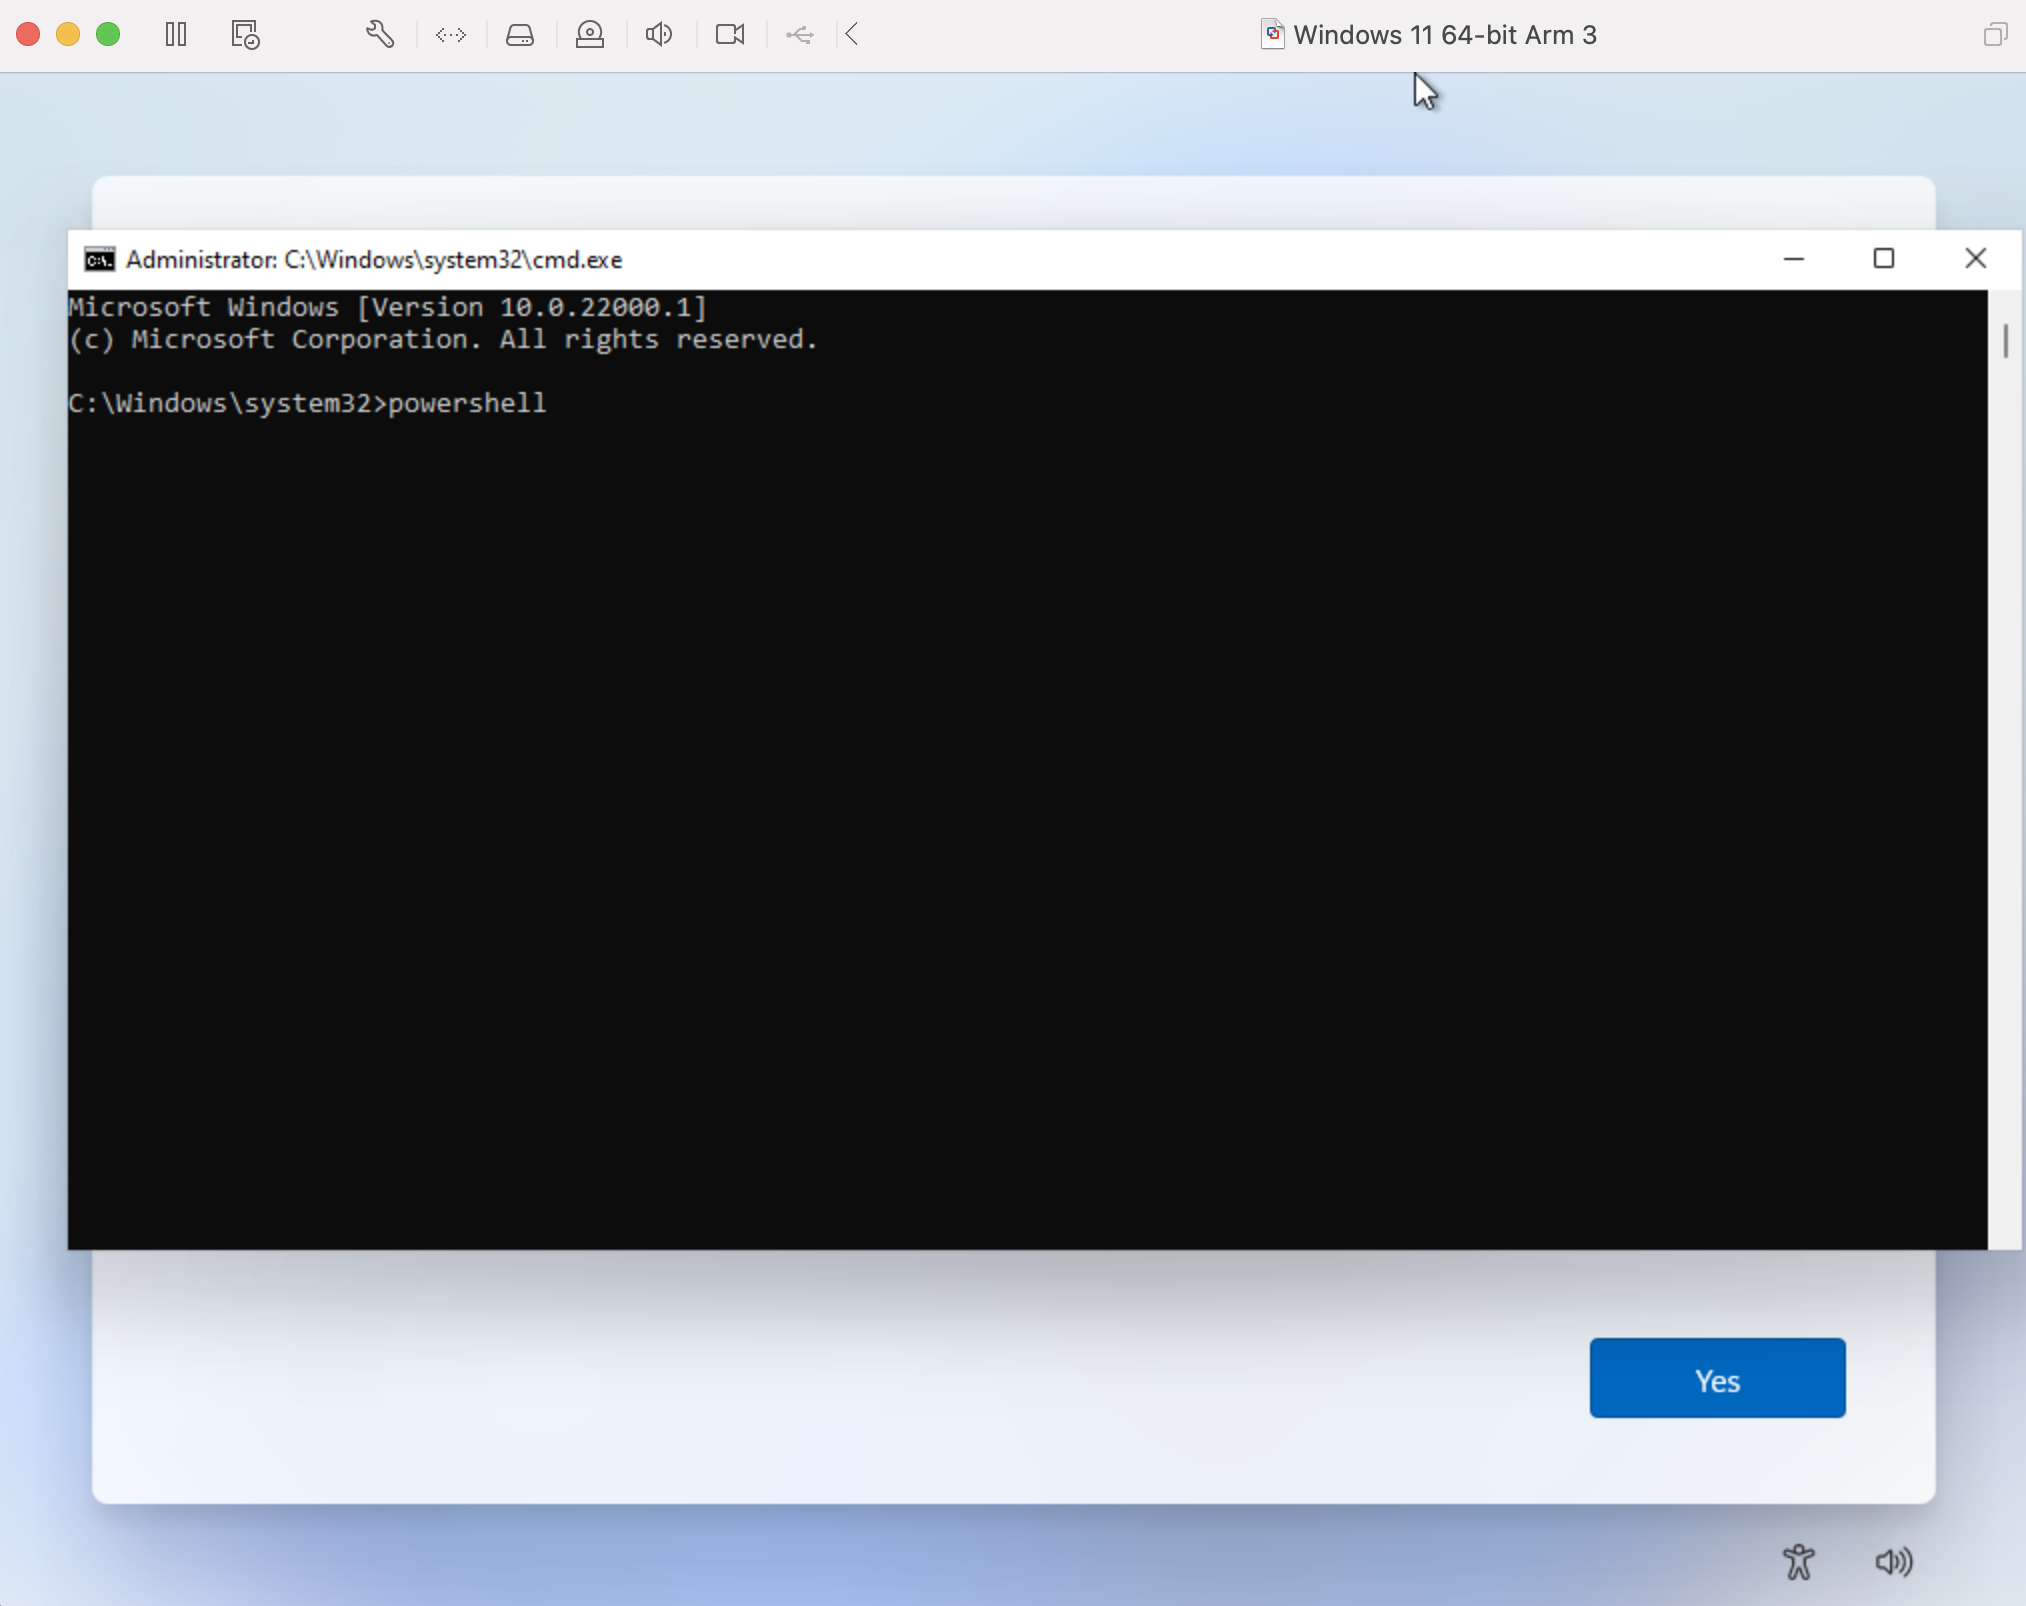

From the VMware Fusion menu bar, select Virtual Machine > Install VMware Tools. Click “Install” on the dialog when prompted. The VMware Tools ISO will be mounted to your VM as the D: drive.
Wait a few moments while the VMware Tools ISO is being mounted to the VM. 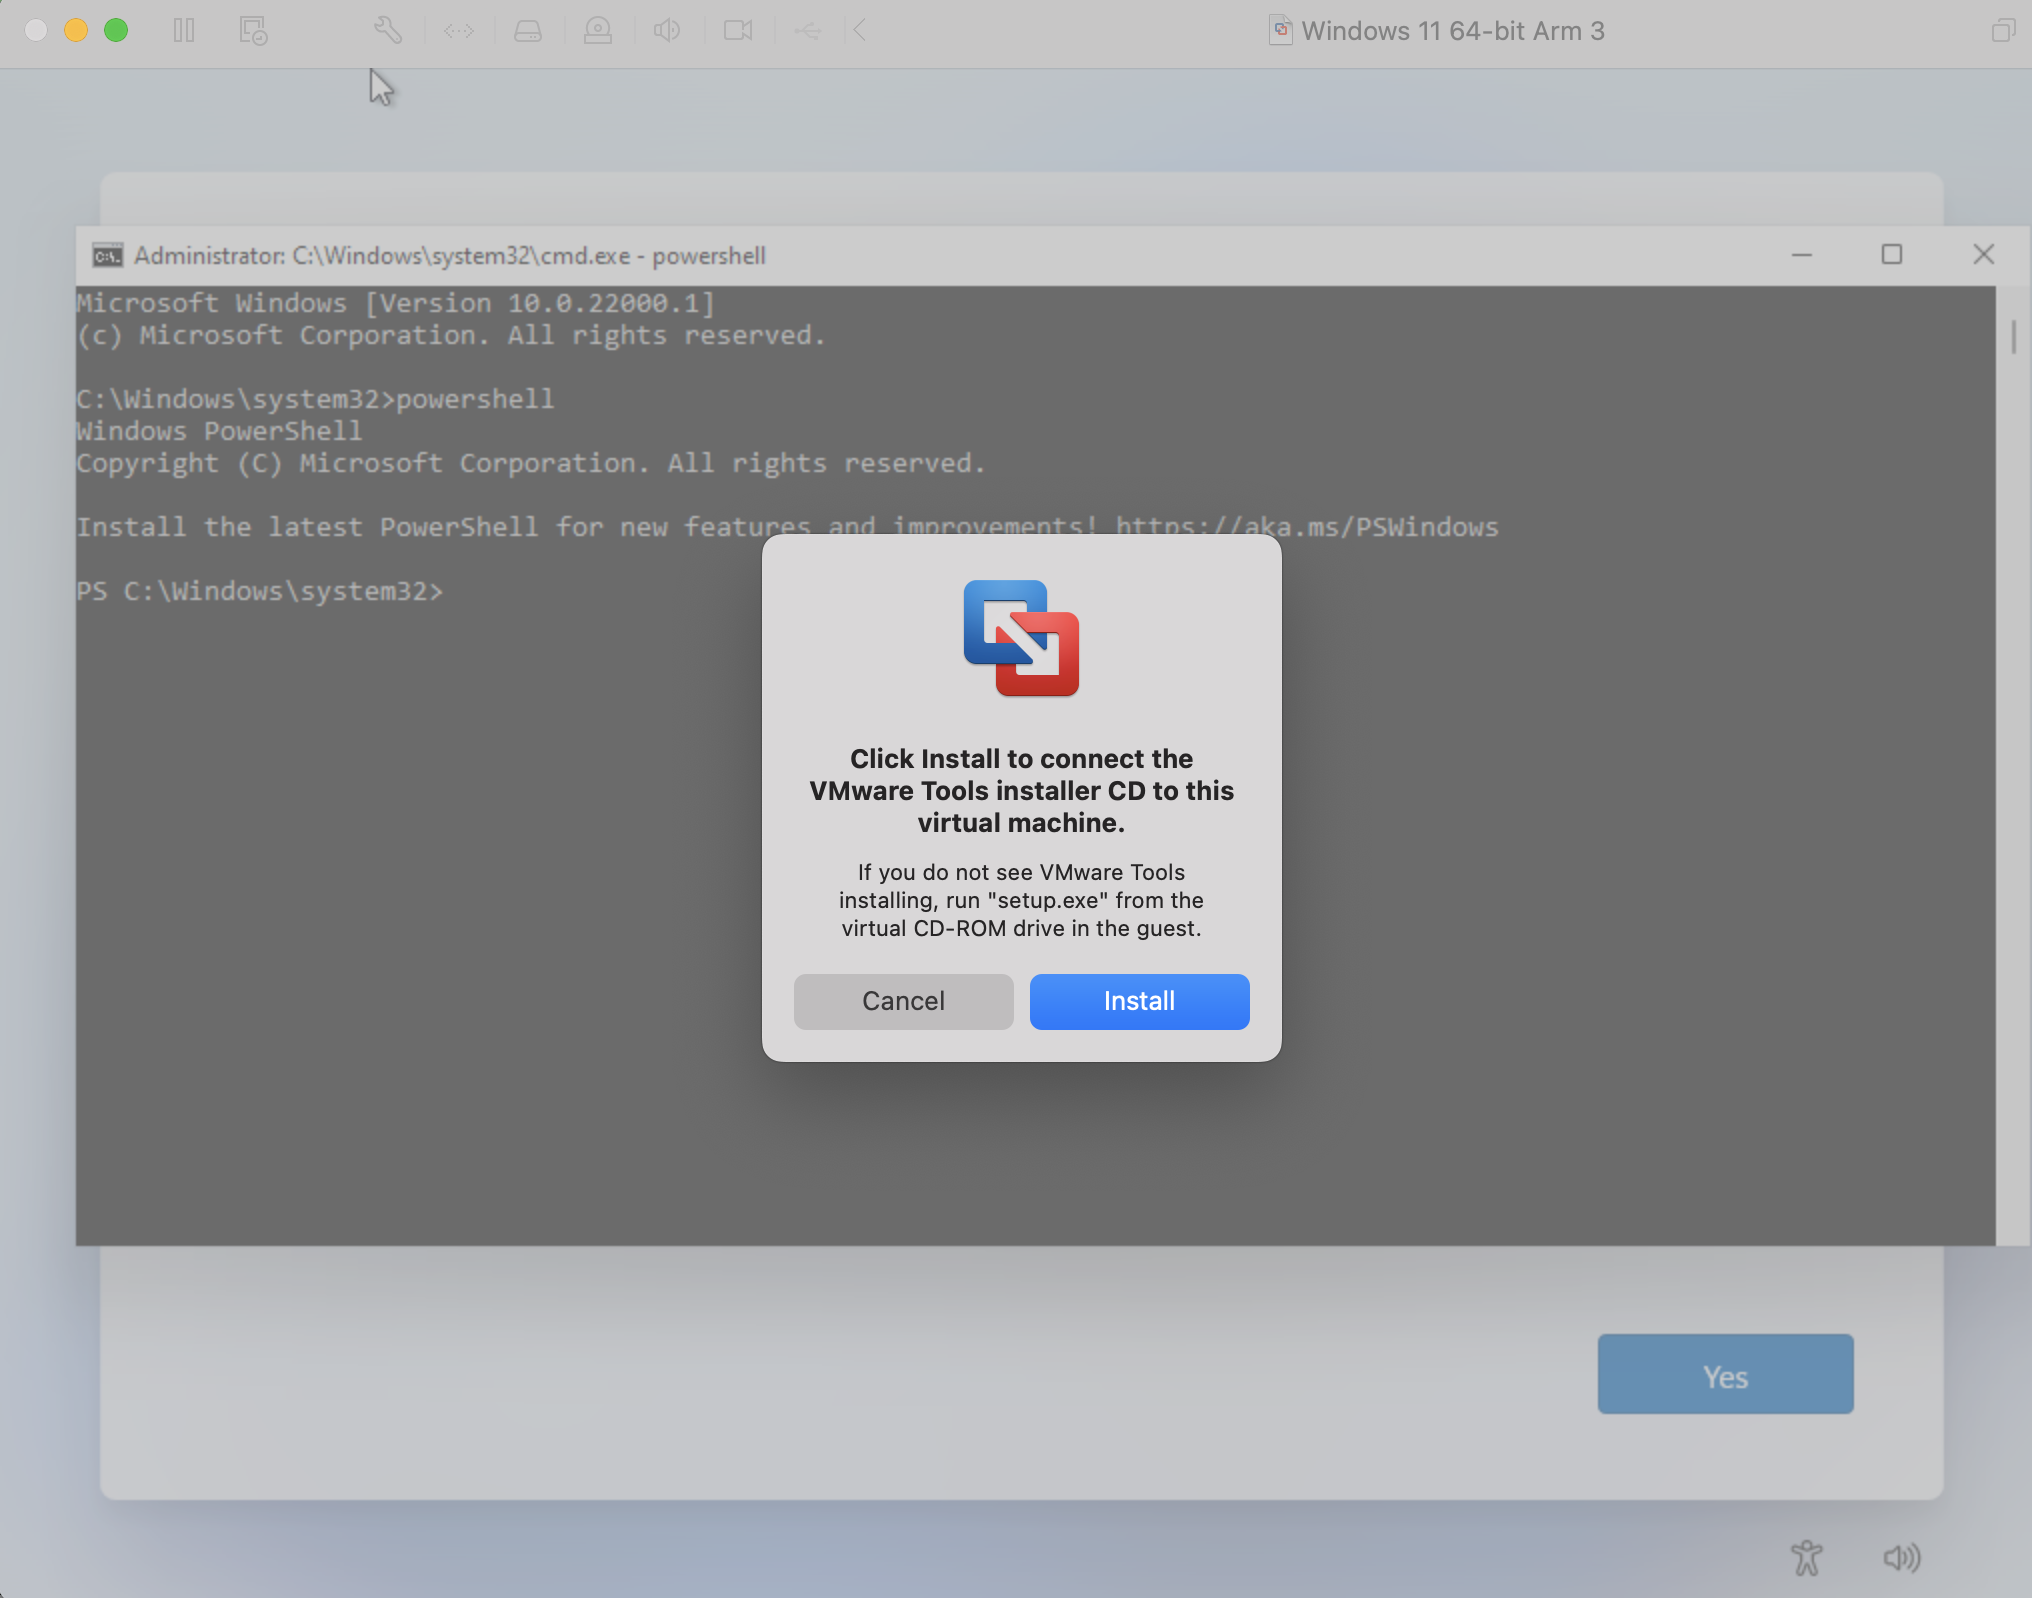
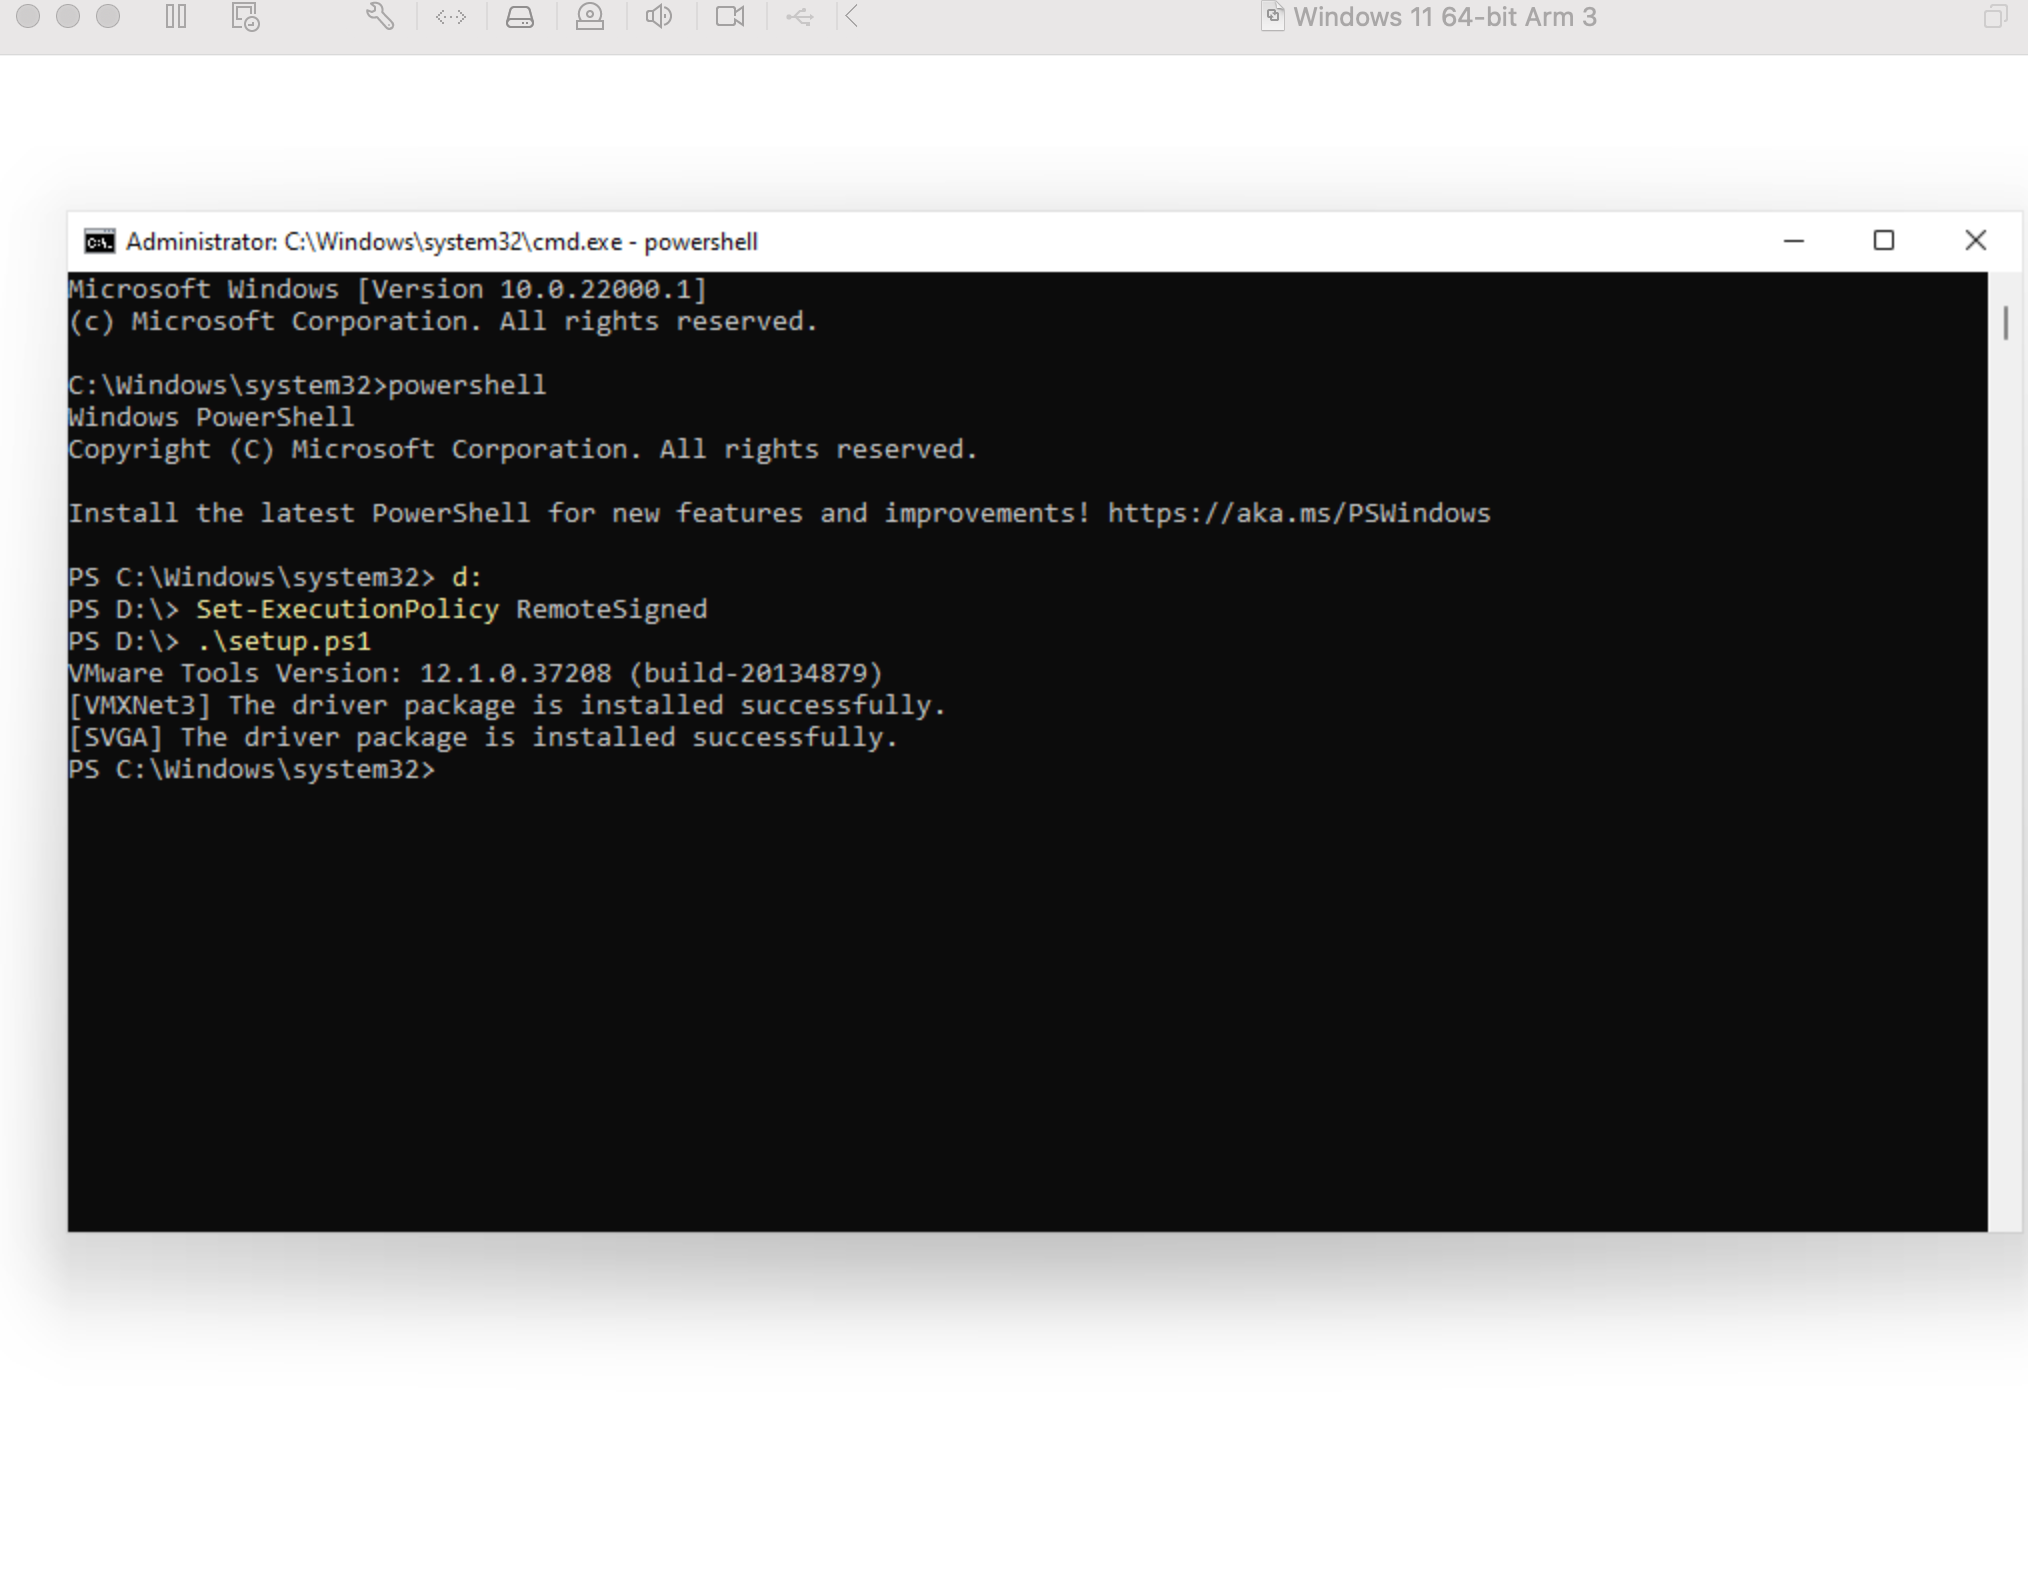
In the PowerShell window, install the VMware Tools by executing the following commands:
1
2
3
D:
Set-ExecutionPolicy RemoteSigned
.\setup.ps1
Reboot your VM via the same command prompt when finished.
1
shutdown /r /t 0
The VM will reboot, and the Windows setup will restart at the point where we switched to the command prompt. Continue with the setup. You will not be prompted for a network connection because the network should now be discovered and operational with the vxnet3 VMware driver. Note that since the VM now has a network connection Windows may update itself “to the latest version” during initial setup
Good luck!
Comments powered by Disqus.