Open Source & Collaborative Security with CrowdSec Part 1
![]()
Intro
CrowdSec is an open-source and collaborative IPS (Intrusion Prevention System). It leverages local behavior analysis to create a global IP reputation network. Analyze behaviors, respond to attacks & share signals across the community. With CrowdSec, you can set up an intrusion detection system that parses logs, detects and blocks threats, and shares bad actors with the larger CrowdSec community.
CrowdSec founds on Fail2Ban’s original philosophy but is told to be 60x faster and not just a protection against brute-force attacks. You integrate with NGINX, Traefic,… based on collection packages that contain logic, parsers and actions. These actions can be executed by what is called a bouncer.
Concept
CrowdSec revolves around the following concepts:
- It reads logs (defined via data sources configuration)
- Those logs are parsed via parsers and eventually enriched
- Those normalized logs are matched against the scenarios that the user has deployed
- When a scenario is “triggered”, CrowdSec generates an alert and eventually one or more associated decisions:
- The alert is mostly traceability and will stay even after the decision expires
- The decision, is short-lived and tells what action should be taken against the offending IP/range/user…
- This information (the signal, the associated decisions) is then sent to crowdsec’s Local API and stored in the database.
- CrowdSec itself does the detection part and stores those decisions. Then, bouncers can “consume” those decisions via the same Local API and apply remediation.
Crowd Sourced
Whenever the Local API receives an alert with associated decisions, it shares the alert’s meta-information with the central API:
- The source IP address that triggered the alert
- The scenario that was triggered
- The timestamp of the attack
This data is processed and redistributed to relevant blocklists and all the participants.
Bouncers
Bouncers are “standalone software pieces [that are] in charge of acting upon a decision taken by CrowdSec”: block an IP, present a captcha, enforce MFA on a given user, etc. They can either be within the applicative stack, or work out of band
Bouncers are utilizing the local API](https://docs.crowdsec.net/docs/local_api/intro/) on the CrowdSec agent to get information about an IP.
Per CrowdSec’s documentation, it is suggested to install the common firewall bouncer.
Data Sources
To be able to detect things, crowdsec needs to access logs. DataSources are configured via the acquisition configuration, or specified via the command-line when performing cold logs analysis.
They can be gathered from Files, Journald, AWS Cloudwatch, Syslog service, docker, Windows Event Log and AWS Kinesis.
Parsers
A parser is a YAML configuration file that describes how a string must be parsed. A string can be a log line, or a field extracted from a previous parser.
Scenario’s
Scenario’s are YAML files that allow to detect a specific behavior, usually an attack.
Scenarios receive events and can produce alerts using the leaky bucket algorithm.
Collections
Collections are bundle of parsers, scenarios, postoverflows in a package.
I recommend reading the CrowdSec Documentation for a more detailed overview.
Too many details to read let’s start with the fun stuff!
CrowdSec (Hub) Installation
1
curl -s https://packagecloud.io/install/repositories/crowdsec/crowdsec/script.deb.sh | sudo bash

1
sudo apt install crowdsec -y
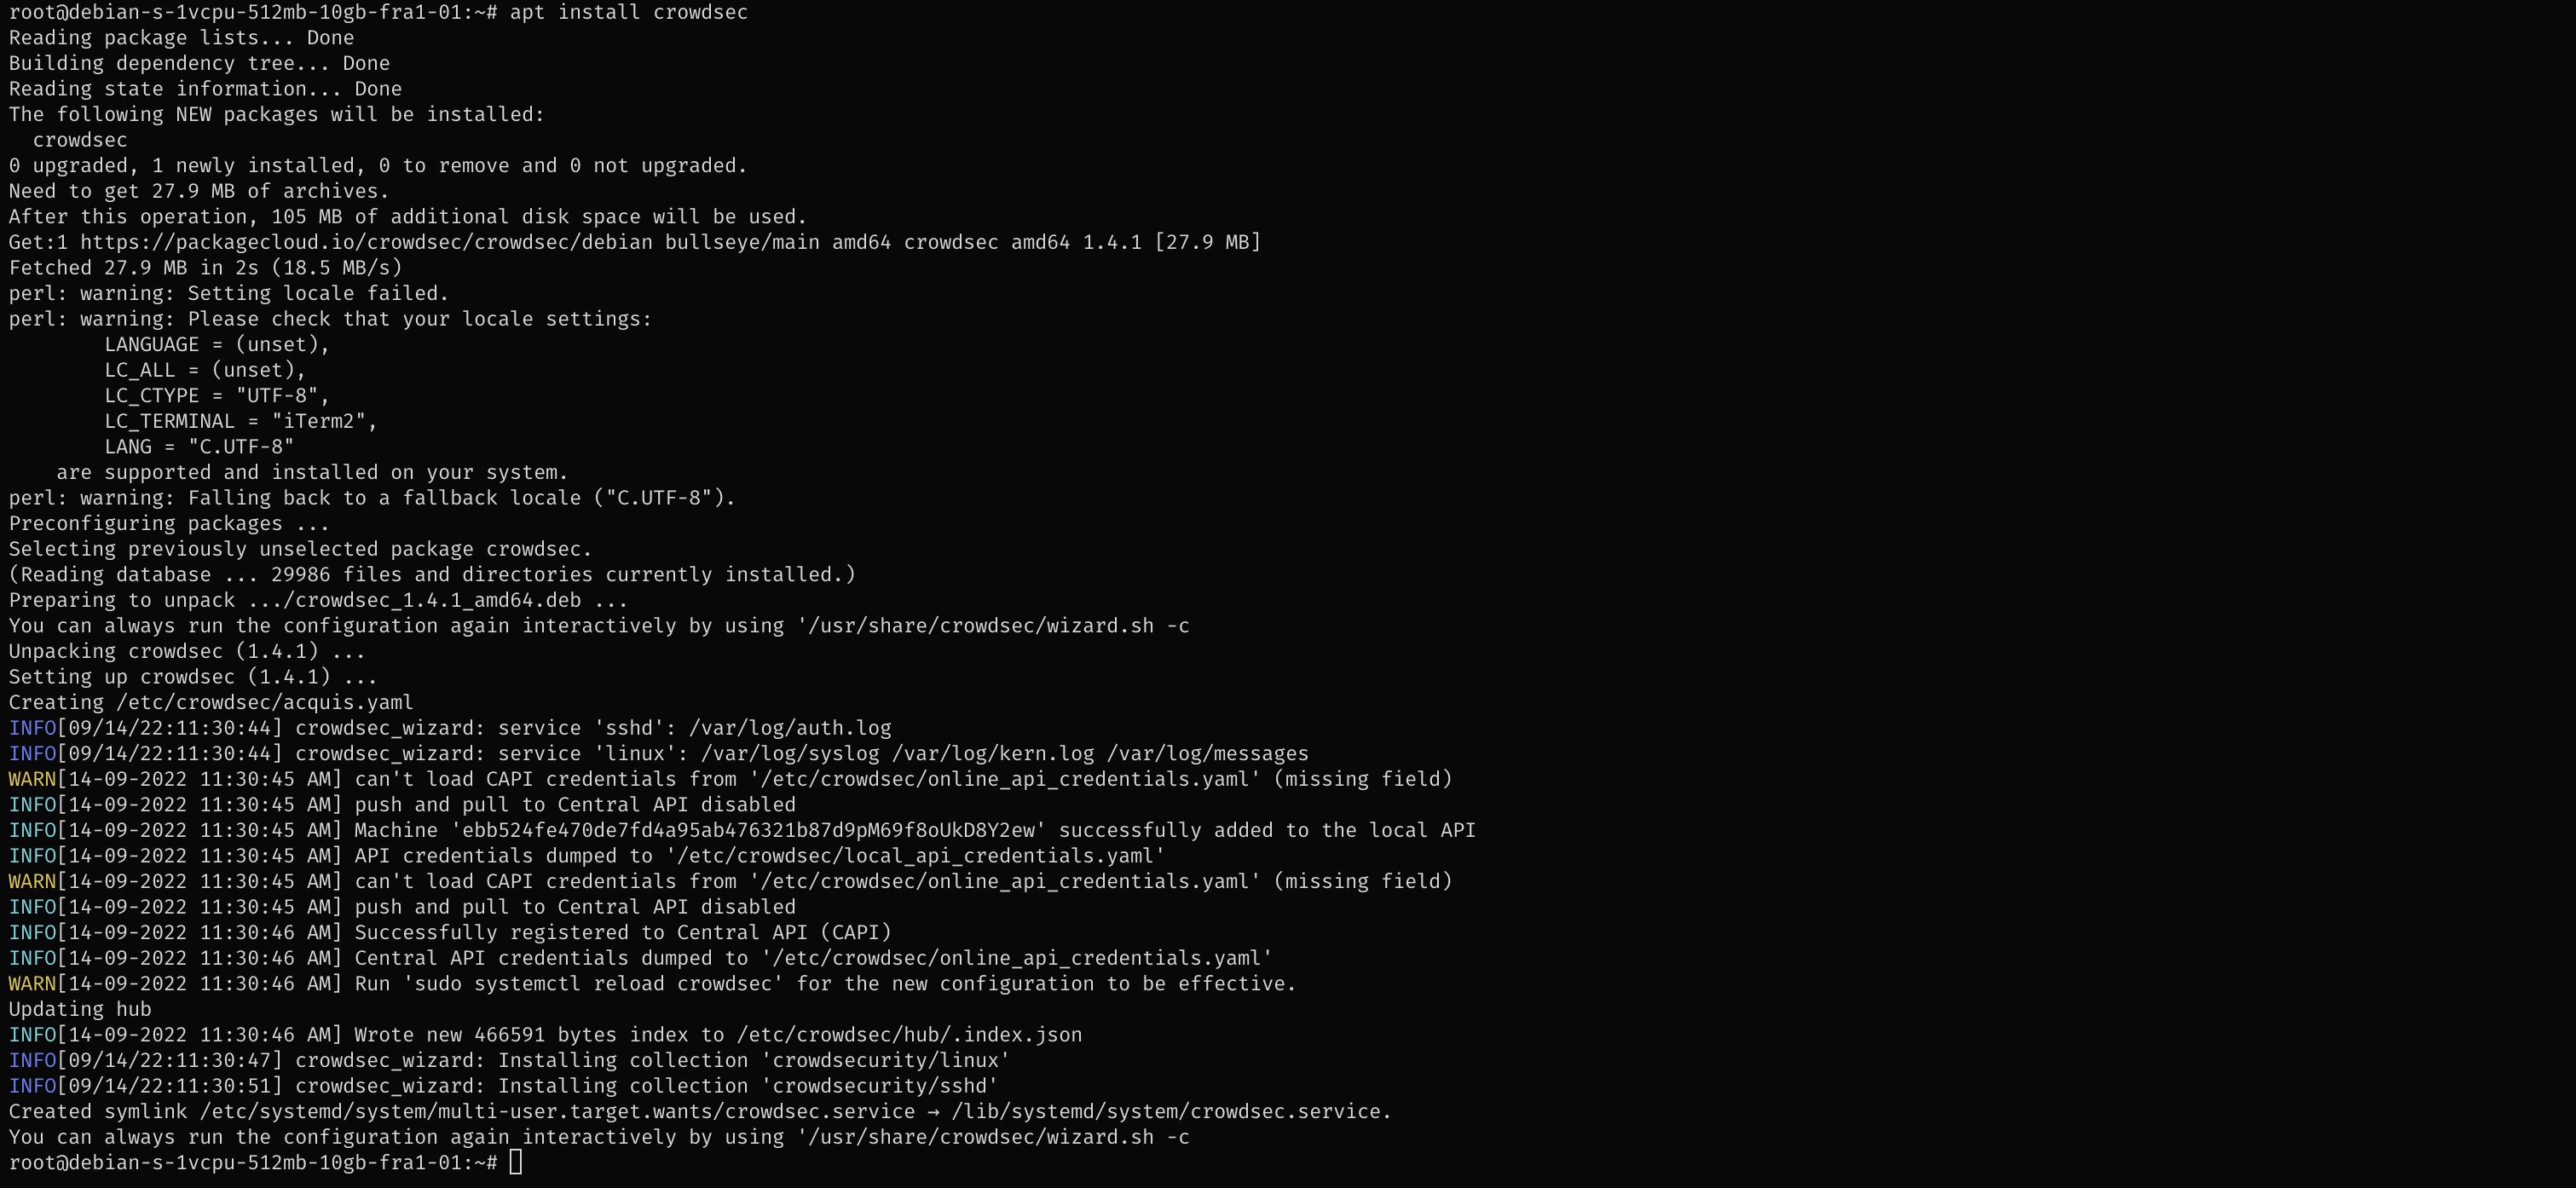
CrowdSec is now running. The application lives in the folder \etc\crowdsec using less than 0.5 MBytes of storage.
The CrowdSec package is only in charge of the “detection”, and won’t block anything on its own. You need to deploy a bouncer to “apply” decisions.
Bouncer Installation
1
sudo apt install crowdsec-firewall-bouncer-iptables -y
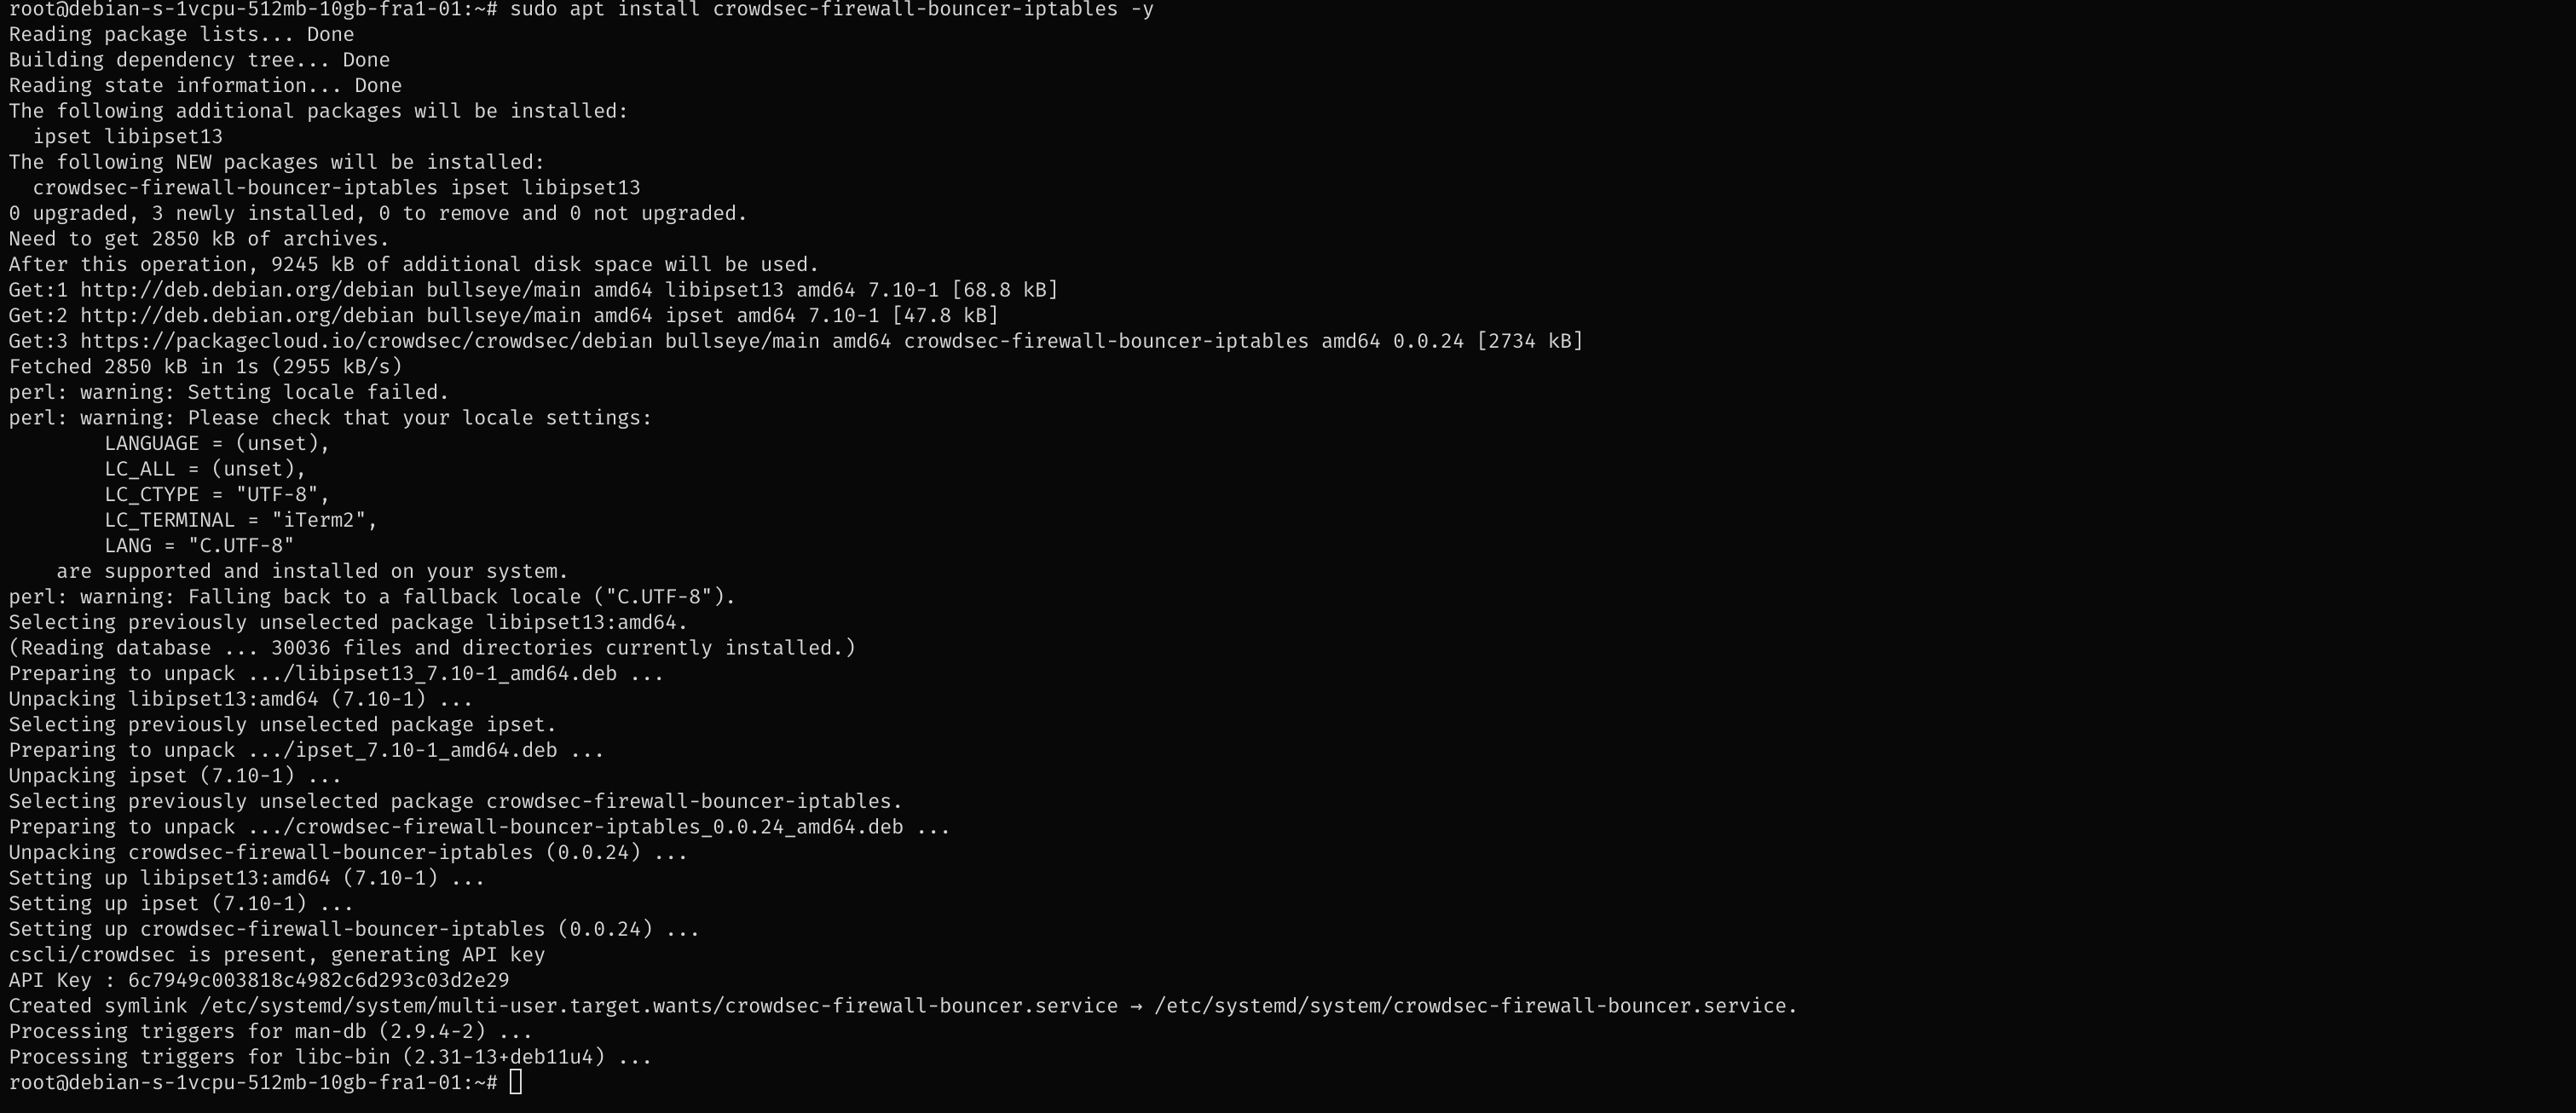
A local API connection is automatically created when installing the CrowdSec hub and the CrowdSec Firewall bounder on the same machine.
Validate the bouncer connection with:
1
sudo cscli bouncers list

The output of the cscli bouncers list shows that a locally running firewall bouncer is registered.
Installing Scenarios or Collections
CrowdSec is not much fun without the right collections or scenarios installed. This test server will be directly exposed to the internet and there’s a high risk of it being hit by drive-by port scanning. We want to detect those and block them. Later in this tech note, we will install Endlessh as SSH tarpit that slowly sends an endless banner and hopefully, we can gather some stats and see CrowdSec in action.
There is an Endlessh collection package available which contains a log parser and supports brute force detection.
Let’s install this collection on the hub:
1
2
sudo cscli collections install crowdsecurity/endlessh
sudo systemctl reload crowdsec

Check the installed collections:
1
sudo cscli collections list

CrowdSec comes by default with linux and sshd collection package active after installation and we added the Endlessh collection.
Let’s check the installed scenarios:
1
sudo cscli scenarios list

Let add the iptables-scan-multi_ports scenario to the list and reload the crowdsec service.
1
2
sudo cscli scenarios install crowdsecurity/iptables-scan-multi_ports
sudo systemctl reload crowdsec
In addition, let’s make sure we have the latest scenarios and parser installed.
1
2
3
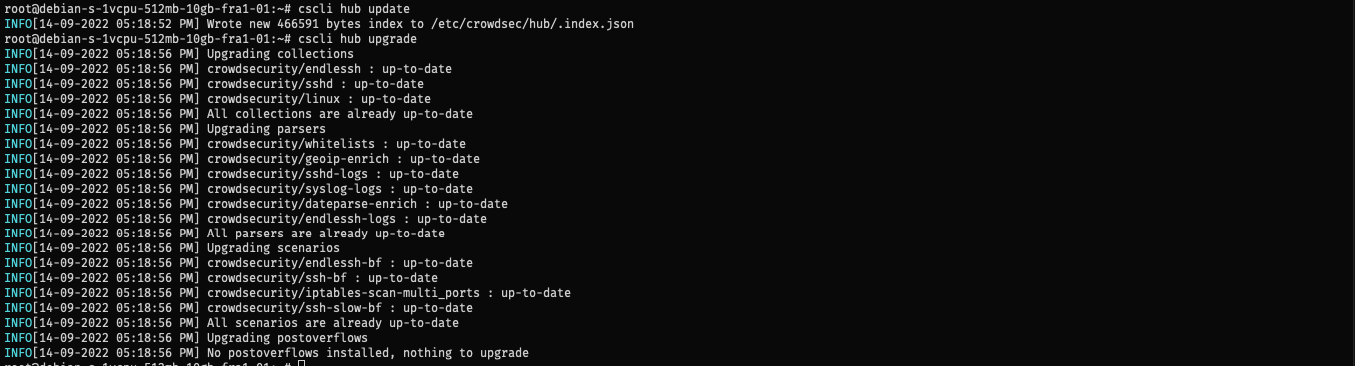
sudo cscli hub update
sudo cscli hub upgrade
sudo systemctl reload crowdsec
CrowdSec Console
To be able to enroll your CrowdSec instance in the Console, the first thing you need to do is to sign up by clicking the ‘Subscribe’ button on https://app.crowdsec.net. Once you’ve done that it’s time to enroll agents.
First, we need to tell the CrowdSec agent to enroll in the console. In the console you will see a message with the command and key to enroll the agent to the console. If you already have an agent installed then use the “Add Instance” button on the top right.
1
2
sudo cscli console enroll <key>
sudo systemctl restart crowdsec
Next you should see an “Instance enroll request” in console, accept and enroll to finish. 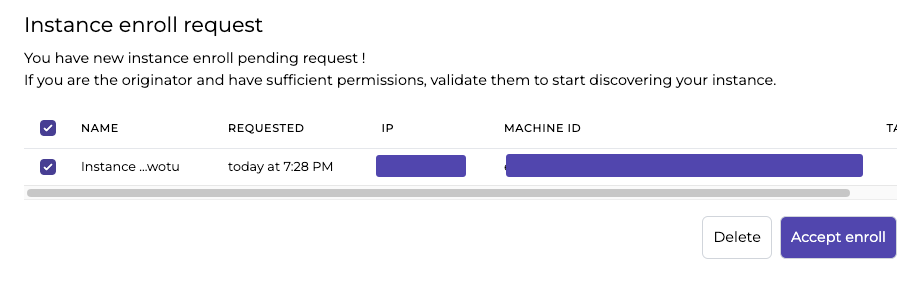
Installing a service
CrowdSec is all about collecting and sharing threat intelligence, as mentioned want to install endlessh, an ssh tarpit that’s really good at annoying attackers by keeping them busy and wasting their time.
Moving SSH to a Non-Standard Port
First, we need to move our SSH service to e Non-Standard Port to free up port 22 for Endlessh. Because botnets don’t have endless resources, they typically scan just the default SSH port (22).
To begin, make a backup of your SSH config file from your server with the following command:
1
sudo cp /etc/ssh/sshd_config /etc/ssh/sshd_config.bak
This file can be used to restore the original settings if something doesn’t work or if you decide to move SSH back to the default port.
Open the SSH configuration file /etc/ssh/sshd_config using nano or your favorite text editor:
1
sudo nano /etc/ssh/sshd_config
Locate the line ‘'’Port 22’’’ and Uncomment this line by removing the #, and then change the port to port 2222 on your server:
1
2
3
...
Port 2222
...
If your server is using a firewall, such as UFW, make sure you allow traffic to this new port from your management IP address.
Restart the SSH service
1
sudo systemctl restart sshd
Do not close your active SSH session unless you have confirmed you can use SSH on the new port. If you can’t connect through the new port, you risk losing access to your server by closing the session. If you cannot connect to your server in a separate terminal session, you can restore your original SSH settings.
You can connect to your host with an additional -p 2222 to the SSH command
1
ssh root@<your-host> -p 2222
Enable UFW as Firewall, allow port 22/2222 and enable logging
1
2
3
4
5
apt-get install ufw
sudo ufw allow 2222/tcp
sudo ufw allow 22/tcp
sudo ufw enable
ufw  logging high
Installing Endlessh
1
sudo apt-get -y install endlessh
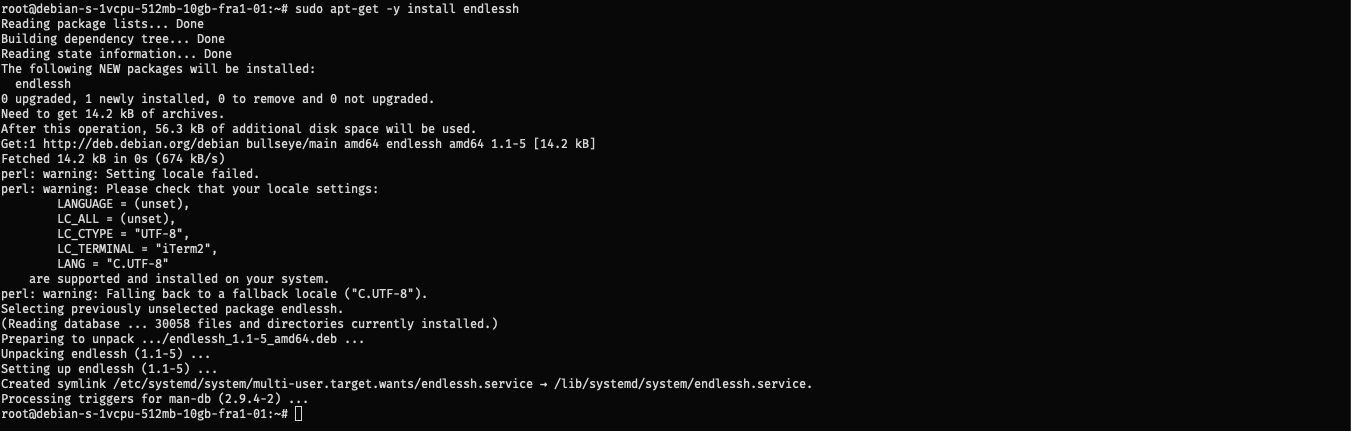
By default, endlessh is not permitted to start on privileged ports (< 1024).
This is how to do it for Debian 11:
1
sudo nano /usr/lib/systemd/system/endlessh.service
Update the file by removing # at the beginning of the line with AmbientCapabilities=CAP_NET_BIND_SERVICE and adding # to the beginning of the line PrivateUsers=true 
Next, you will allow Endlessh to run on ports lower than 1024, also referred to as internet domain privileged ports. Set this capability for the Endlessh binary with the setcap command:
1
sudo setcap 'cap_net_bind_service=+ep' /usr/bin/endlessh
Endlessh needs to be configured to run on port 22 and to log (to /var/log/syslog by default). Create the file /etc/endlessh/config
1
sudo nano /etc/endlessh/config
Add the following text
1
2
3
4
5
6
Port 22
Delay 10000
MaxLineLength 32
MaxClients 4096
LogLevel 1
BindFamily 0
Re-nable the Endlessh service and restart:
1
2
3
4
5
6
sudo systemctl --now enable endlessh
sudo systemctl restart endlessh

Check the service status
```bash
sudo systemctl status endlessh
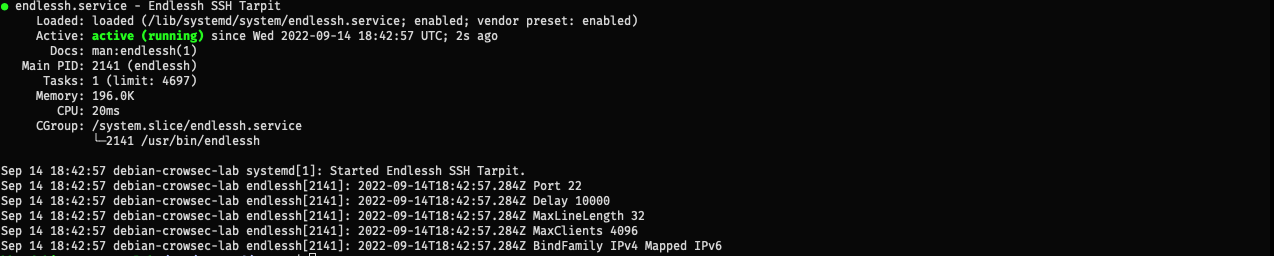 You should see the service running on port 22
Additionally, you can check the port also with:
1
sudo netstat -ltnp | grep endlessh
Configure the CrowdSec Data Source
Syslog will be the data source for this host. We can enable the acquisition of Sin the CrowdSec ```acquis.yaml`` file.
1
sudo nano /etc/crowdsec/acquis.yaml
1
2
3
4
5
6
7
8
9
10
11
12
13
14
15
16
filenames:
  - /var/log/auth.log
labels:
  type: syslog
---
filenames:
  - /var/log/kern.log
  - /var/log/messages
labels:
  type: syslog
---
filenames:
  - /var/log/syslog
labels:
  type: endlessh
---
CrowdSec Metrics
Run sudo cscli metricsto see the metrics. there should be activity on the parsers as “PARSED”.
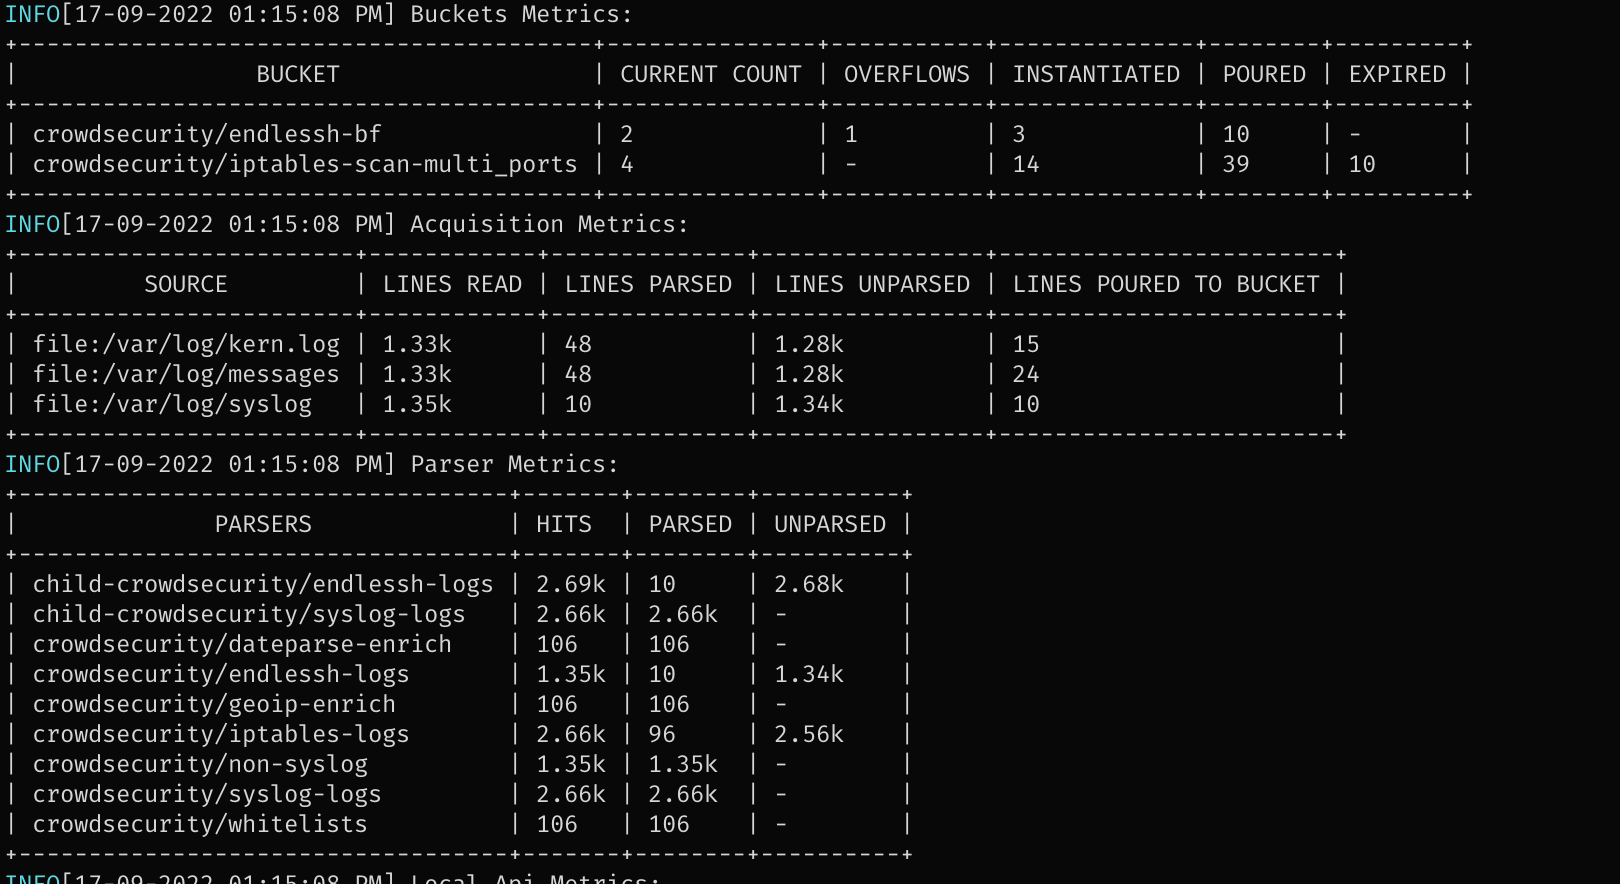
It can take some time but you should CrowdSec banning IP addresses when something is trying to connect via SSH.
1
cscli decisions list

CrowdSec Commands
How to ban an IP:
1
sudo cscli decisions add --ip 192.168.0.1
How to un-ban an IP:
1
sudo cscli decisions delete --ip 192.168.0.1
Closing
Wow, too much information for one note. This was “Open Source & Collaborative Security with CrowdSec Part 1”.
In part 2 we will go for a deep dive into the result and how we get more out of it.
In part 3 we will install CrowdSec on Home Assistant to secure remote access in combination with Cloudflare.
Good luck!
Comments powered by Disqus.